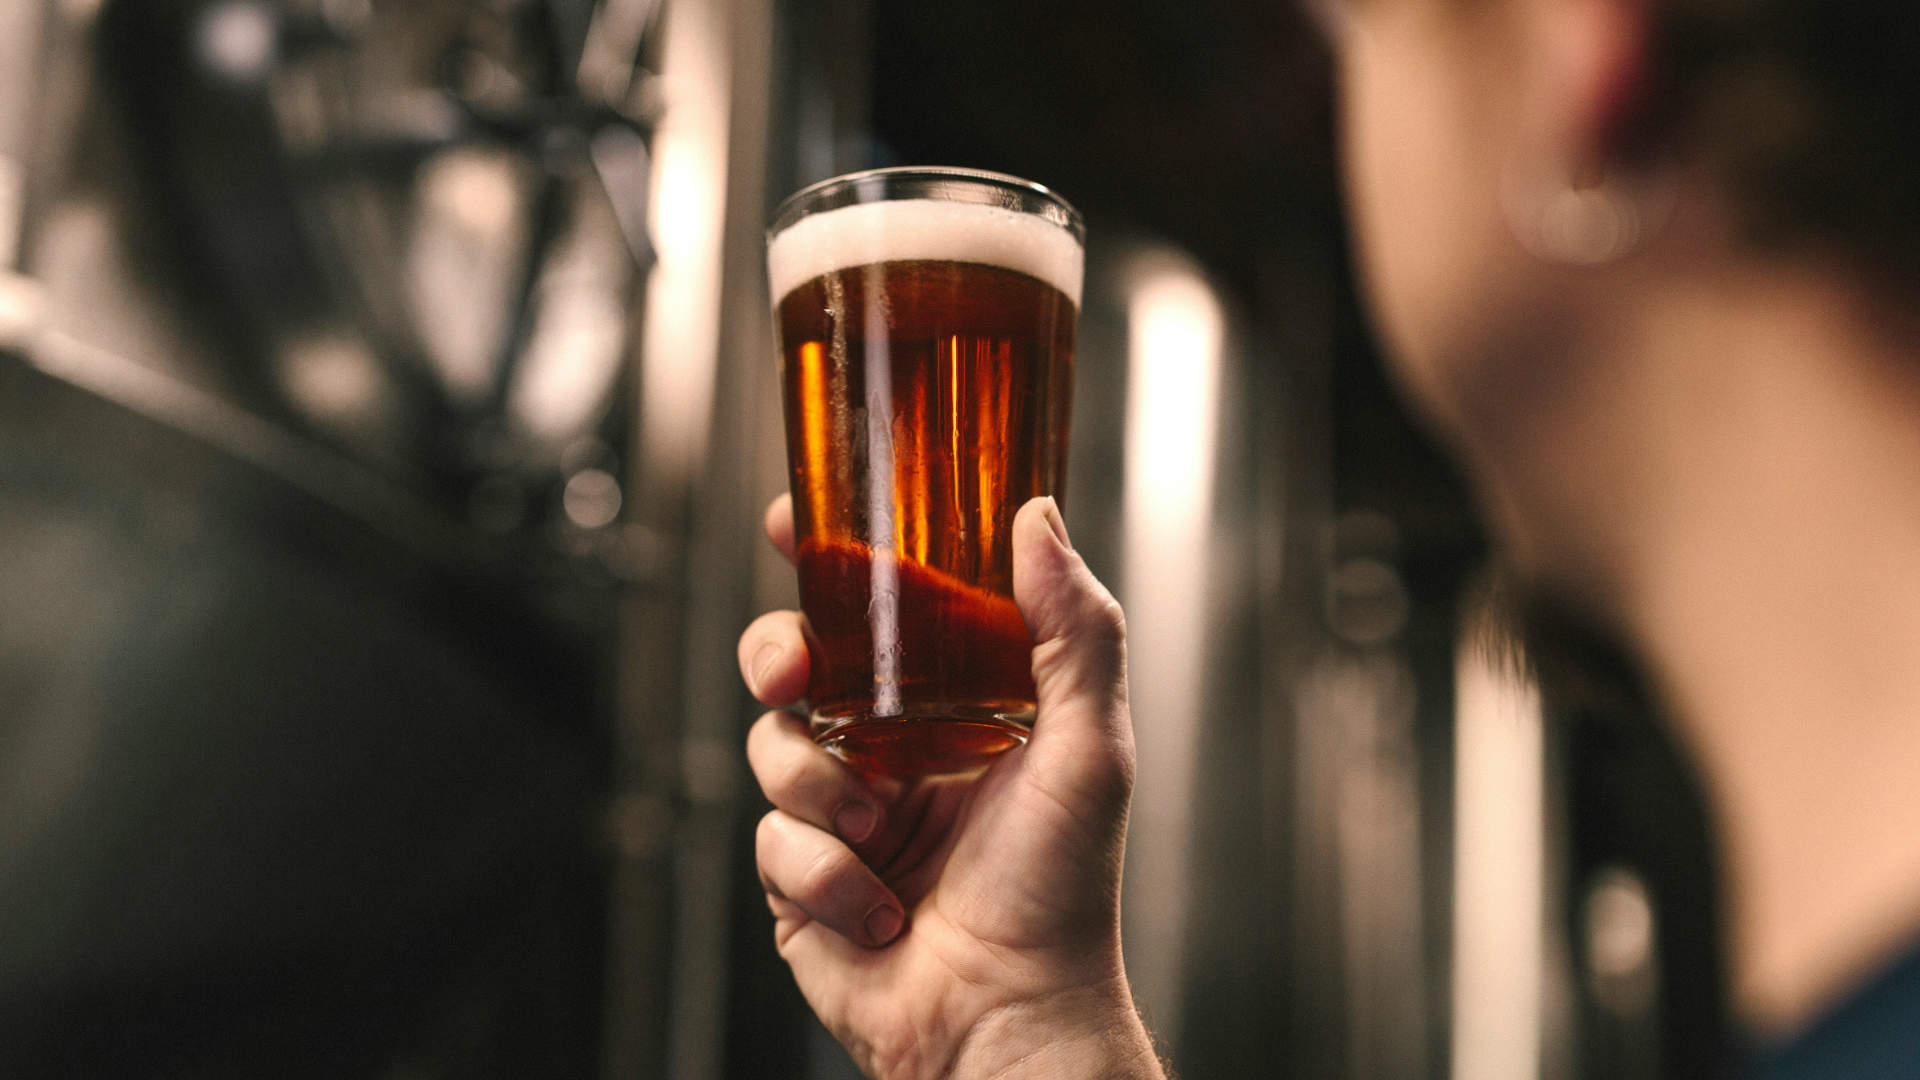
When you first get into homebrewing it can feel like a major win to produce a half-decent beer. Well, sometimes it can feel like an achievement to produce just a sub-par beer that you didn’t get spill on the floor during your brew up, and which didn’t explode during fermentation. Small wins! But when you do eventually pour yourself a pint of your own amazing homebrew what’s going to give you an extra buzz of pride is how it looks. And part of that is getting a good head: just the right amount of foam that doesn’t disappear too quickly, and that produces that wonderful lacing effect on your glass.
The foam on your brew doesn’t just look the biz, it also improves the experience of your beer. Foam helps retain the aroma of your brew and enhancing the foam of your brew will also enhance its body. So your beer will taste better too.
What is foam?
In very simple terms*, foam is the result of CO2 bubbles. So to get a head on your pint you need to produce the right amount of bubbles (too many is as bad as too little). And to retain the foam your goal is to create stable bubbles.
*If you love to understand the science behind your brew then check out this great article by Iain Kelly from Murphy & Son which gets into foam on a more molecular level: www.murphyandson.co.uk/beer-foam-what-you-need-to-know/
There are a surprising number of factors which can improve or destroy your foam. Let’s take a look at some of them...
Additions
Avoid low-protein adjuncts like corn, rice, sugar and adding ingredients containing oils such as coffee and cacao (see under ‘Beer Clean’ to read why oils ruin foam). Citrus fruits can also mess with your head.
Beer Styles
OK, this is the easy way out but a simple way to get a homebrew with great head is to go for styles that easily produce and retain foam. Hefeweizen, wit beer, and stout (with nitrogen) are good examples.
Carbonation
Get your carbonation right so the foam has enough gas to form correctly. Under carbing can distort your flavour profile as well as your foam, so take a look at that. But be careful not to over carb as this will use up the valuable head-forming proteins in your brew. Shaking your keg during carbonation will have the same detrimental effect.
Carefully weigh your priming sugar when bottling so your brew doesn’t over foam when opening (or worse, burst the cap or bottle). Look online for a priming sugar calculator.
Fermentation
Stressed yeast releases proteases and lipases which will damage your foam so be sure to correctly pitch your (healthy) yeast. And aerate your wort sufficiently too!
Grains & Malts
Choosing malts with a higher protein and dextrin content will help your brew keep its head as these increase the viscosity of your brew. When a beer has a high viscosity the liquid between the bubbles drains away slowly keeping those little bubbles in your foam intact so the head lasts longer.
Wheat, oats and flaked barley are good choices here. Foam friendly crystal malts include Carapils and caramel malts. It is a bit of a balancing act though, as overuse of all of these will impact the clarity of your brew.
Pauls Malt Washy Frothy Wheat Malt is great to add in small quantities (3.6%) to ales and lagers to improve head retention. Order from: paulsmalt.co.uk
Hops
The polyphenols present in hops help foam retention so you’ll hopefully get a good head if you’re making a hoppy brew. Obviously, if you’re not making a hop-forward style then don’t add extra hops for the sake of your foam.
Mash Temperature
Your brewing technique can also effect the head on your pint. ‘Choosing a higher mash temperature, such as something in the 68–70°C range, will result in longer dextrin chains in the finished beer and lower attenuation during fermentation, which will enhance the head retention’, says homebrew expert Brad Smith on beerandbrewing.com.
Ever notice that sour beers have little foam? Keep an eye on your pH levels as a low pH (which sour beers have) will cause your bubbles to collapse.
See page 17 of our last issue (#007) for Fran Maud’s pH targets throughout the brewing process.
Serving Temperature
Viscosity increases as temperature decreases, which means that a colder beer will have better foam stability. So, if suited for the style of beer, make sure you pour your brew at a chilled temperature.
Trub
Trub contains fatty acids so be sure to let it settle well before racking and packaging.
Glassware
After putting in that effort during the whole brewing process, don’t fall at the last hurdle by allowing your glassware to ruin your foam. Select the right glasses and focus on keeping them beer clean.
A tall, narrow pilsner glass is ideal for promoting a good head on your beer. Its shape minimizes exposure to ambient air, and reduces the ability for CO2 to escape.
Nucleated glassware is also worth a try. These special beer glasses have an etched mark or logo at the bottom on the inside. The rough surface of the etching release CO2 from the beer giving your pint a better head and increasing the aroma as the tiny bubbles burst forth. This type of glassware isn’t suited for all types of beer though. A higher ABV brew, which might more likely be sipped over a longer period will go flatter sooner. Belgian wits may also be too highly carbonated to be suitable for these glasses. Nucleated glasses are, however, perfect for hop-forward styles like IPAs and APAs.
Beer Clean
In the industry the term ‘beer clean’ is used to describe glassware which is free from soapy residues, oils, grease, lipstick or other residues that would negatively impact the head, appearance, taste or aromas of the brew. Iain Kenny explains why this happens: ‘When lipids enter the beer surface and before they start to interact with other molecules on the surface, they will act independently to cause disruption to the surface film causing the surface film to collapse.’*
The topic deserves an article for itself, so look it up. A few quick tips though include not running the glasses in your dishwasher at the same time as dirty crockery, pans etc, using a washing-up brush dedicated only to glassware and using a special beer glass detergent. Rinse your beer glasses in fresh, cold water and leave to air dry as cloths can leave traces of lint or odours in the glass.
Use of Antifoam
Consider using antifoam as a processing aid in your homebrewing. ‘At first it sounds counter-intuitive that the use of Antifoam will help improve the quality of the foam’, says Iain Kenny from Murphy & Son, ‘but each time foam is formed, future foaming potential is lost. Avoiding boil overs or foam loss during fermentation means that important foam positive proteins (often the first to form foams) in processing will be lost from the beer over the side of the vessel.’ Order antifoam from: www.murphyandson.co.uk
Clean Equipment
The principle of soap and oil residues effecting your foam also applies to your brewing equipment. So be sure not to use regular, foaming dish soap when cleaning your gear. Get rid of debris with a dedicated brush or cloth and hot water. Then sanitise with something like ChemSan.