Homebrewing is both an art and a science, offering brewers the freedom to experiment with flavours and styles. One of the key considerations in this hobby is achieving the desired beer clarity… or is it? After bringing up the conversation in our last homebrew meet, I got my hands on a plate filter from one of our members. I was excited to test it out, but then it got me thinking about the article we recently wrote about casks and the “live ales†(issue 21) and whether there are downsides to producing an ultra-bright beer and whether the CAMRA campaign might have a further application beyond cask and secondary fermentation.
My experience
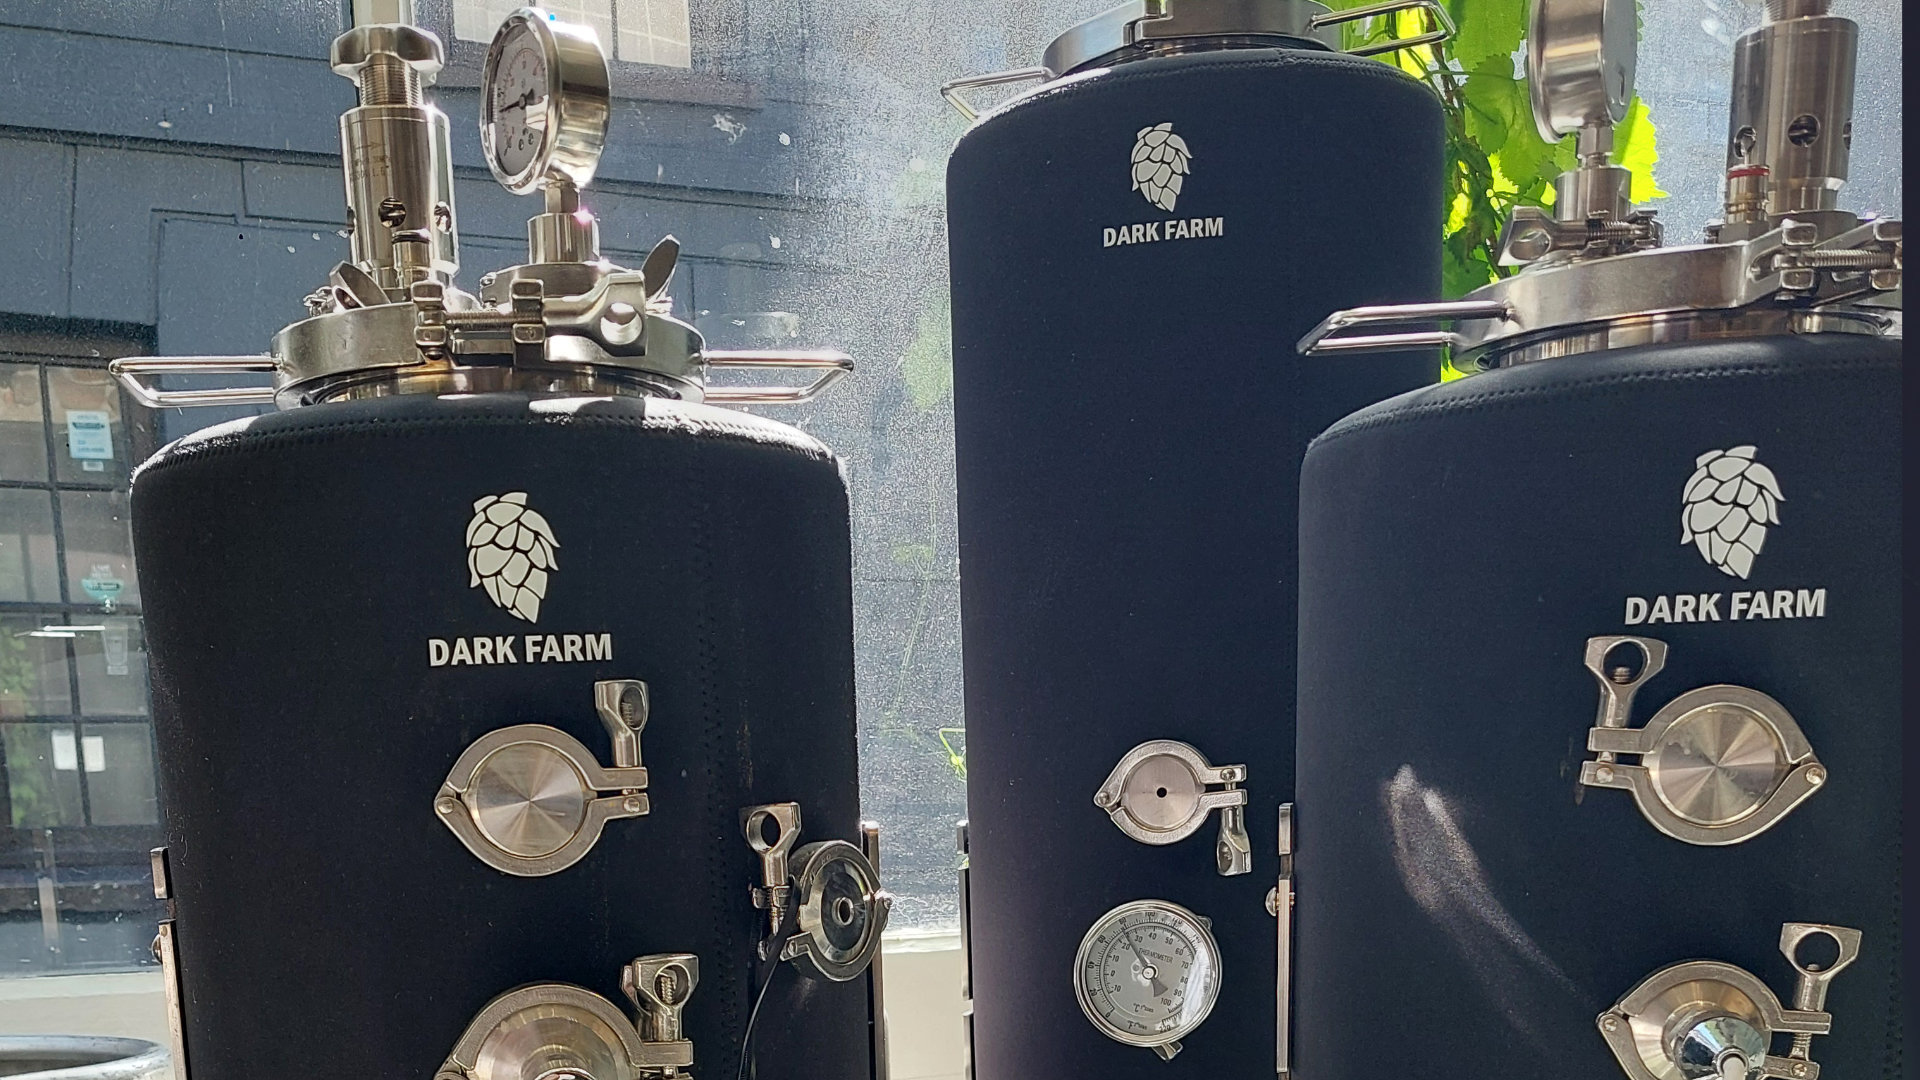
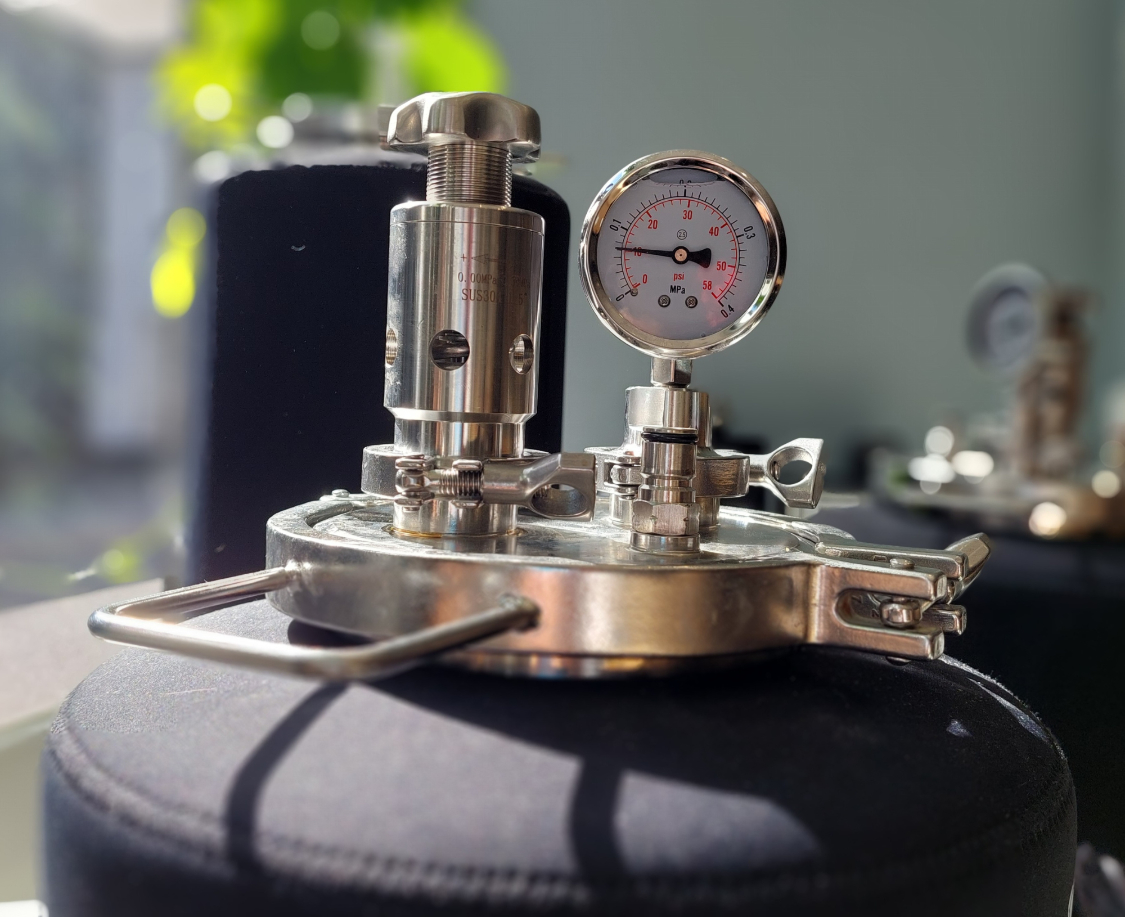
I was keen to give the 20cm plate filter a go but knew instantly that striving for beer clarity would involve compromise, mainly wastage. The way a plate filter works is by pumping your beer from your secondary tank at pressure through several plates. Between each plate is a filter. The filter sheets are made up of very pure, finely fibrillated cellulose fibres - they come in different micron sizes and I would recommend a coarser filter for beer.
First, the sheet needs to be rinsed thoroughly for 20 minutes before connecting your beer. It was amazing how much water the filter held in the sheets and priming the pump - you are looking at around 2L of water. This water would then be displaced with your beer which meant this would be spoilage unless you had the equipment to push this beer through under pressure using CO2, wasting almost 10%... eek! However, the equipment was now set up so I carried on.
I hooked up my tank and switched on the pump. At this point, you have to bear in mind that what comes out of the outlet is the water so this needs to be discarded before the beer starts to pour. Best done by eye, so use your own judgement.
Another point I have to raise is that it’s quite a messy process - the filters do drip a little. I think all-in-all I lost around 3L of beer, which is not great, but I guess if this was scaled up the wastage would be less in terms of loss percentage.
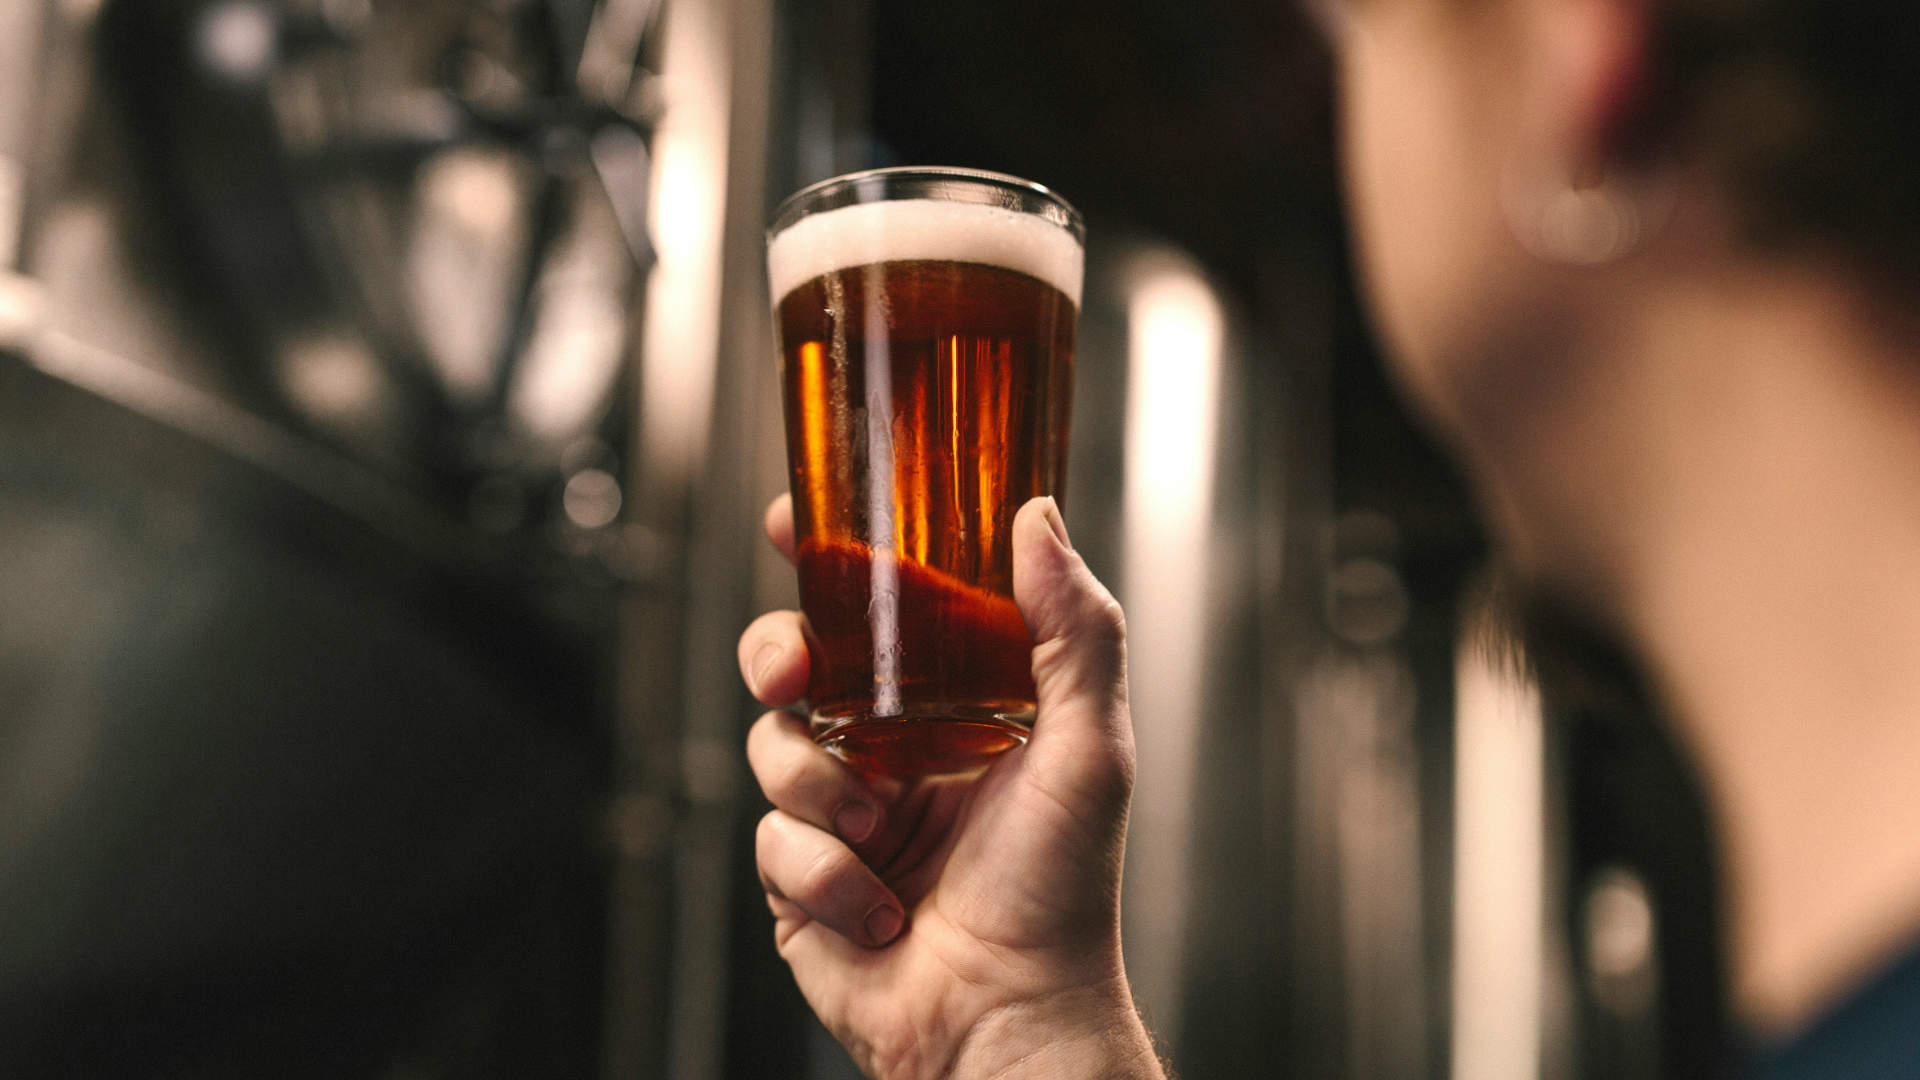
But the result was amazing! The clarity and brightness of the brew was one of my best yet. The was a slight paper taste, but this was an error on my side after adding additional filters. Anyway, the taste disappeared after a couple of weeks, so it didn’t ruin my beer. It was a little slower than expected, but again I think the filters I used were too fine, and the beer could have done with a longer condition as there was a lot of yeast transferred into them. So, on reflection, yes, I would use it again! But there is room for improvement. I would be more mindful of wastage and perhaps line a few beers up to run in succession, to minimise the filter costs and wastage.
Pros of Using a Beer Filter
Improved Clarity: Filters remove suspended yeast, proteins, and other particulates that can cause haze, resulting in a clear, aesthetically pleasing beer.
Consistency: Removes unwanted particles to produce repeated consistent brews.
Enhanced Flavour: While some argue that filtering can strip away certain flavors, it can also enhance the taste by removing unwanted off-flavors caused by yeast and other particulates.
Extended Shelf Life: Removing yeast and other particles reduces the risk of re-fermentation and spoilage, keeping the beer stable.
Professional Appearance: A clear, filtered beer looks more professional and appealing to the eye, which is particularly important if you plan to share your brews with mates or enter competitions.
Cons of Using a Beer Filter
Cost: The initial investment and ongoing costs for replacement filters might be prohibitive for some homebrewers.
Complex Process: Requires additional equipment, setup time, and a good understanding of how to properly filter without contaminating your beer.
Potential for Flavour Loss: It can be argued that filtering can strip away some of the beer’s character. Certain styles, like Belgian ales, are traditionally enjoyed with some yeast in suspension.
Risk of Oxidation: The filtering process can introduce oxygen to the beer, which can lead to oxidation. Oxidised beer may develop off-flavours, such as a cardboard-like taste.
Maintenance Filters: need to be cleaned and replaced regularly. Poor maintenance can lead to bacterial contamination, which can ruin a batch of beer.
Types of Beer Filters
Choosing to filter your homebrew or not, and which method to use depends on your goals and budget. Not to mention whether you feel like adding another step to your brewing process. If you’re anything like me though, you do enjoy messing about with new tools and techniques. Whichever route you take, I reckon the most important part of homebrewing is to enjoy the process and the delicious beer you create. If you are interested in trying it out, there are various methods for filtering beer, each with its own benefits and drawbacks.
Plate and Frame Filters: Comprised of frame filters with a series of plates covered with filter media, through which the beer is pumped to remove particulates.
Pros:
+ Highly efficient at removing yeast and proteins.
+ Can handle large batches of beer.
Cons:
- Expensive and complex to operate.
- Requires regular maintenance and cleaning.
Inline Filters: Connected directly to the transfer lines, filtering the beer as it’s transferred from one vessel to another.
Pros:
+ Convenient and easy to integrate into the brewing process.
+ Good for small to medium batches.
Cons:
- Can be less effective than plate and frame filters.
- Limited filtration capacity before needing a filter change.
Cartridge Filters: These use a cylindrical cartridge with filter media inside to remove particulates.
Pros:
+ Available in various pore sizes for different levels of filtration.
+ Can be used for sterile filtration.
Cons:
- Cartridges need to be replaced regularly, adding to the cost.
- Can be prone to clogging.
Brew Bag Filters: Fine mesh bags used to strain out larger particles during the brewing process.
Pros:
+ Inexpensive and reusable.
+ Simple to use and clean.
Cons:
- Not as effective for fine particulate removal.
- Limited to smaller particles like hops and grain debris.
Cold Crashing: Rapidly cooling the beer to near freezing temperature, causing particulates to settle to the bottom.
Pros:
+ No additional equipment needed.
+ Natural method to clear beer.
Cons:
- Takes time and requires precise temperature control.
- Not as effective for all particulates, particularly yeast.
Fining Agents: E.g. gelatin, isinglass or Polyclar, which are added to the beer to help precipitate suspended particles.
Pros:
+ Effective at clearing beer quickly.
+ Inexpensive and easy to use.
Cons:
- May not remove all haze-causing particles.
- Some fining agents are not vegan-friendly.
Gravity Filtering: Uses gravity to pass beer through a filter medium, typically a cloth or fine mesh.
Pros:
+ Low-cost and simple.
+ No need for pumps or additional equipment.
Cons:
- Slow process.
- Not suitable for large batches.
Centrifugal Filtering: Uses centrifugal force to separate particles from the beer.
Pros:
+ Efficient and fast.
+ No need for filter media.
Cons:
- Requires specialised and expensive equipment.
- Not typically used by homebrewers.