Once you get into your brewing, you quickly realize the importance of the fermentation period. And the key factor of this period is keeping a constant temperature. All yeasts have their own working temperature and it’s important to make sure your brew doesn’t stray either above or below this. Doing so will have considerable effects on your final product. Taste and alcohol content could be compromised.
At Dark Farm HQ we work and brew in an amazing studio but the temperature can swing from 15oc to 30oc depending on the time the year. This change in temperature has certainly had an effect on our fermentation: prematurely ending the fermentation causing the beer to have a sweeter taste than desired, as well as skewing our final gravity targets.
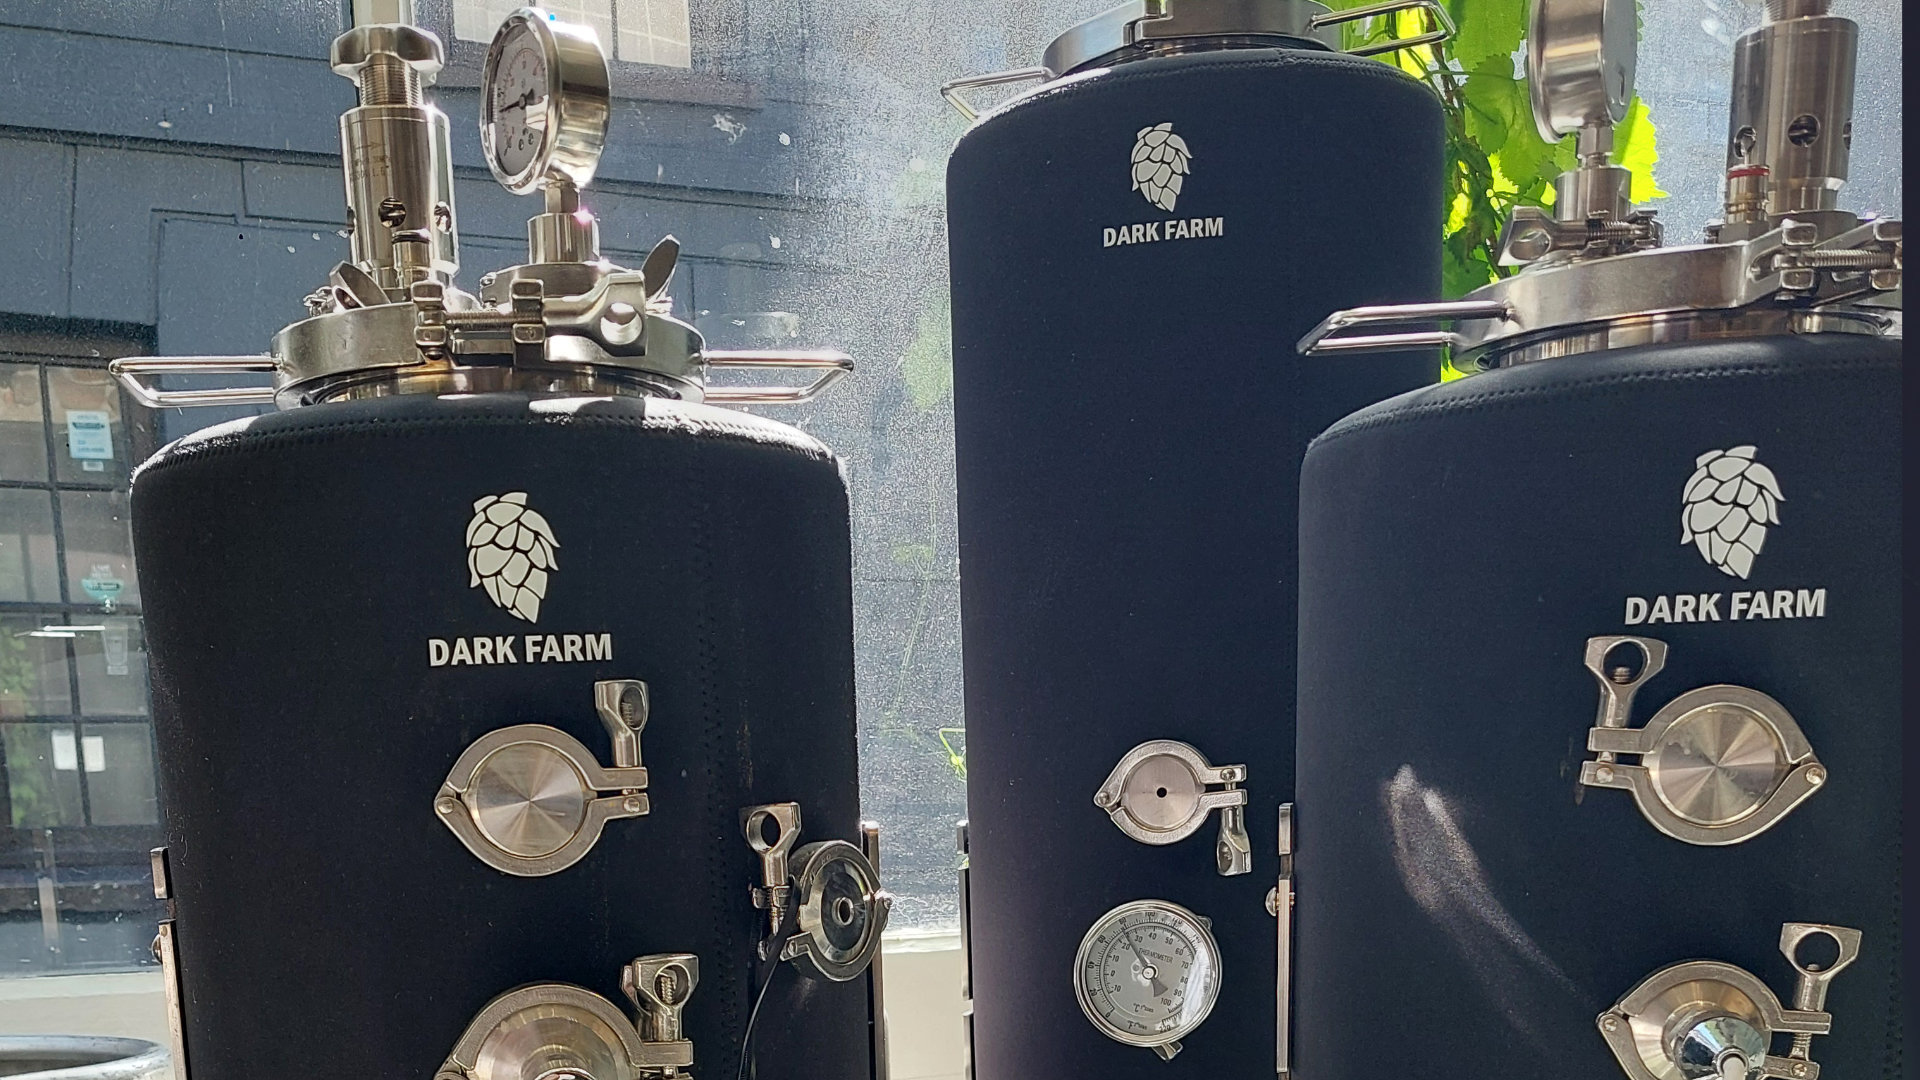
Dark Farm HQ is lucky enough to host a Kegerator, which has a temperature controller on it. The thing is that it is always full of beer. Not wanting to sacrifice our beer chiller for 2 weeks while we use it for fermenting, we decided to have a go at creating a DIY fermentation chamber.
After a little online research about building a cheap DIY fermentation chamber without the need for any technical skills this is was what we came up with. We used:
1. A second-hand larder fridge (in working order). Make sure the internal configuration will fit your fermenting vessel.
2. An Inkbird thermo controller
3. A greenhouse heater (yes, this was new to me too!)
4. Disinfectant
5. Drill
In layman’s terms, the fridge is your sealed chamber, which can be cooled as fridges tend to do. The greenhouse heater warms up the chamber and the Inkbird controller dictates whether the chamber needs to be heated up or cooled down. Clever, huh?
Step one
Clean your fridge - make sure your fridge is properly scrubbed from head to toe. Use a good sterilising product to disinfect all surfaces. Don’t forget you’re deliberately building an eco system for microbes to flourish: make sure it’s the yeast you’re farming and not anything else. You can also have a little fun here too! If you are handy with a drill and saw you can easily make some custom internal shelving. But if, like me, you prefer the maxim of ‘if it’s not broken, don’t touch it’ get a fridge with shelves that work for your fermentation bucket.
Step TWO
Secure your greenhouse heater inside the fridge. Greenhouse heaters are a simple heat element; similar, I guess, to what you would find in your boil pot: plug it in and it heats up. Make sure you secure the greenhouse heater so it doesn’t impede on space for your fermenting vessel and to ensure it doesn’t touch the vessel - you want to heat the chamber not the brew!
There are a couple of options here depending on your skill or confidence.
Step THREE
You will need to pass two cables from the inside of the fridge to the outside. The first is the power cable for the greenhouse heater and the second is the thermometer on the Inkbird controller. The desired end result is to make sure you preserve the seal on the fridge once the door is shut. We were lucky in that our fridge had a drainage plug in the bottom through which we could pass the cable. You can also (on some fridges) pass the cable through the door seal but, again, make sure you can still shut it properly. Or the final option is to drill a hole in the side, but make sure you don’t drill through anything important (and for goodness’ sake check that the fridge is not plugged in when you do it!), then try to seal the hole once the cable is pushed through.
Step FOUR
All we have to do now is to connect it all together. For those who don’t know anything about the Inkbird controller it’s a simple but ingenious piece of kit worth getting for the hell of it: you’ll definitely find a use for this nifty gadget. An Inkbird thermostat has a controller where you set your desired temperature; place this in the thing you want to control the temperature of. It has two plug sockets: one socket is to the device that heats up whatever you are trying to heat up and the other is (you guessed it) to cool it down. So, in our case: the fridge and the greenhouse heater. Plug it all in and you’re done!
Now you can easily control your fermentation temperature and will be well on your way to making amazing homebrew. And, even better than that, you can now also start dabbling in some exotic yeasts and possibly try lagering. Good luck!