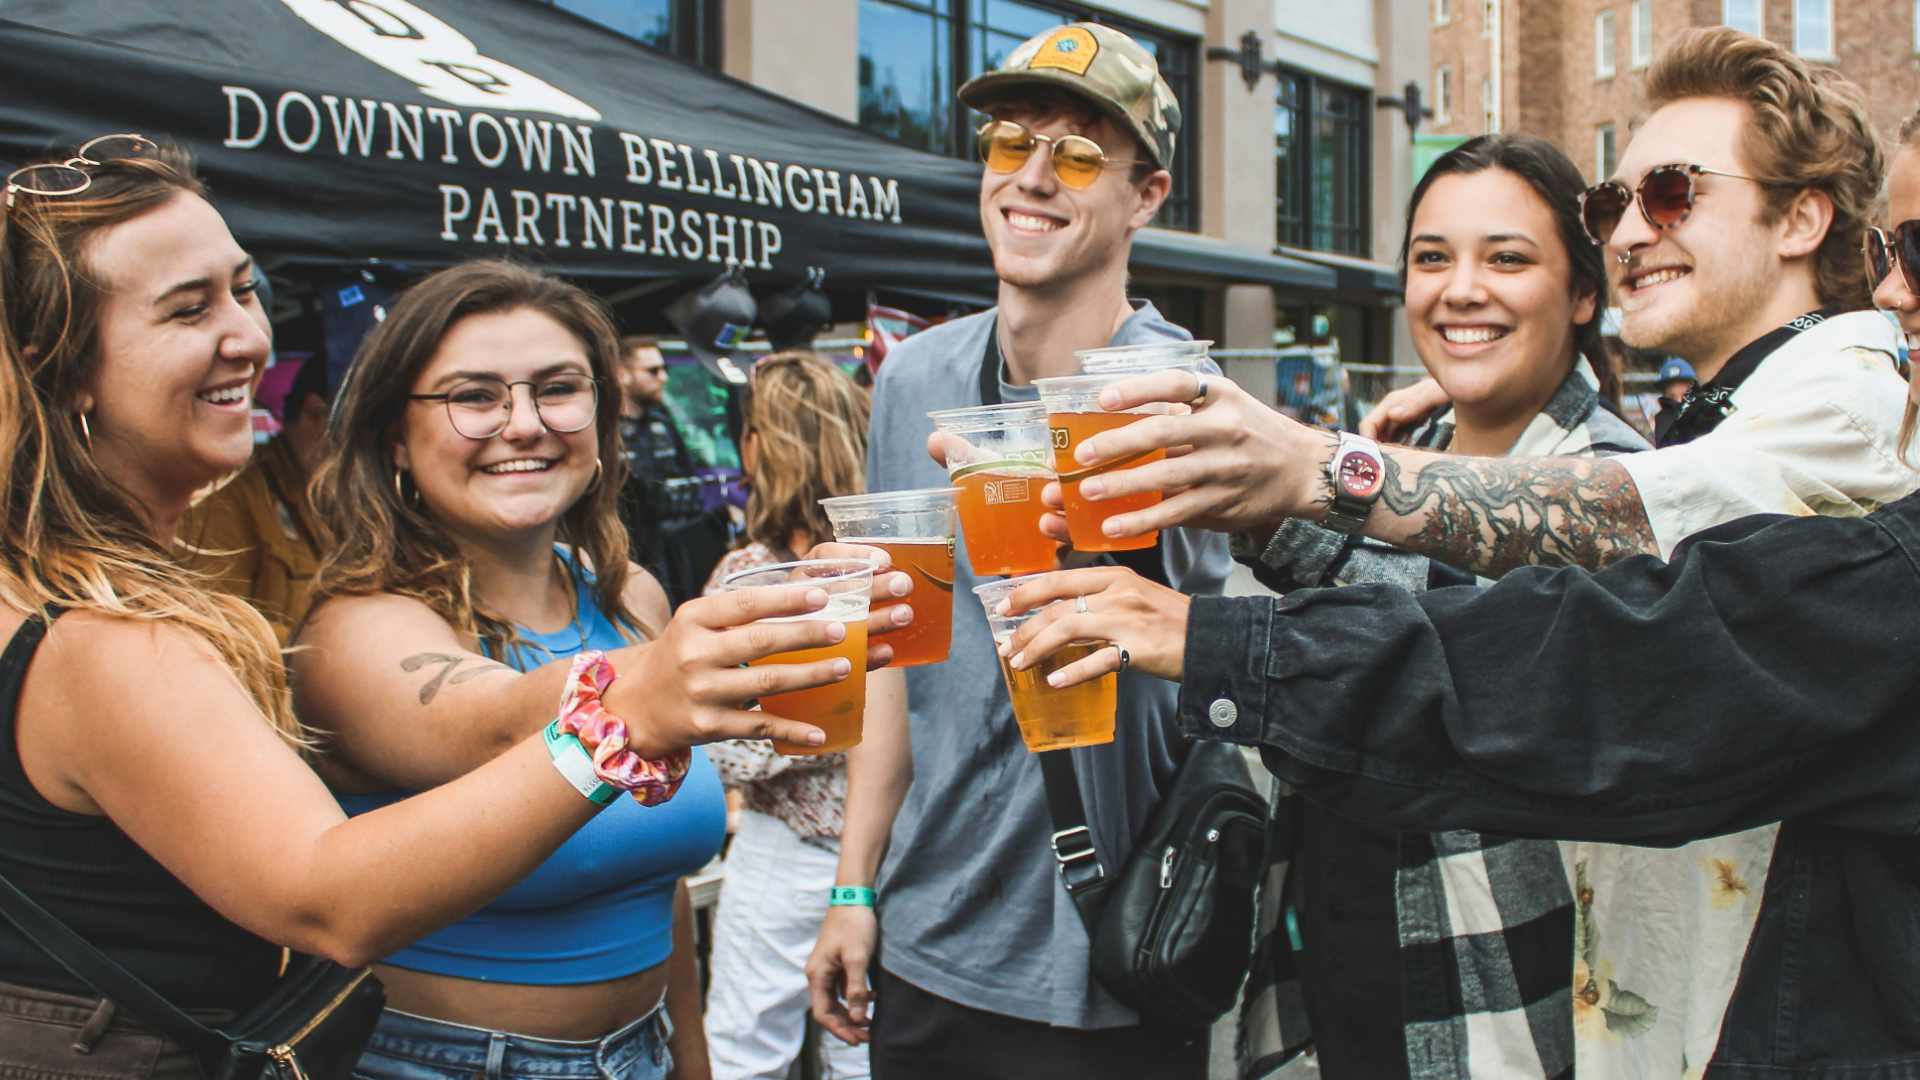
I am an Englishman who has lived in Estonia for 12 years. I started brewing just over two years ago when a friend said to me ‘You make good bread, surprised you haven’t tried beer’. So the challenge was set and within a week I had a 35 litre steel pot, a gas heater, a ‘Brew-in-the-bag’ bag, a plastic fermenter, a hydrometer, a bottle capper…
I am sure you will remember how the kit seems to exponentially grow at an alarming rate! And so I set off to make my first All Grain brew. It was terrible, about 20 litres of grey oxygenated fizzy liquid that had a smell similar to that of old beer and cardboard. We forced it down, trying to pretend it was the best thing since sliced bread. Undeterred and a bit wiser (and probably 20 YouTubes on beermaking mistakes later) I made a second brew which turned out to be OK. Quite quickly I realised that the Brewzilla type machines made life easier, so, you guessed it, a Klarstein 30L copy of one of the better brands was soon in the house and the original kit became grain storage. As with all things, practise improves your results and after 18 months my beer was more than drinkable, and friends actually asked for it when visiting.
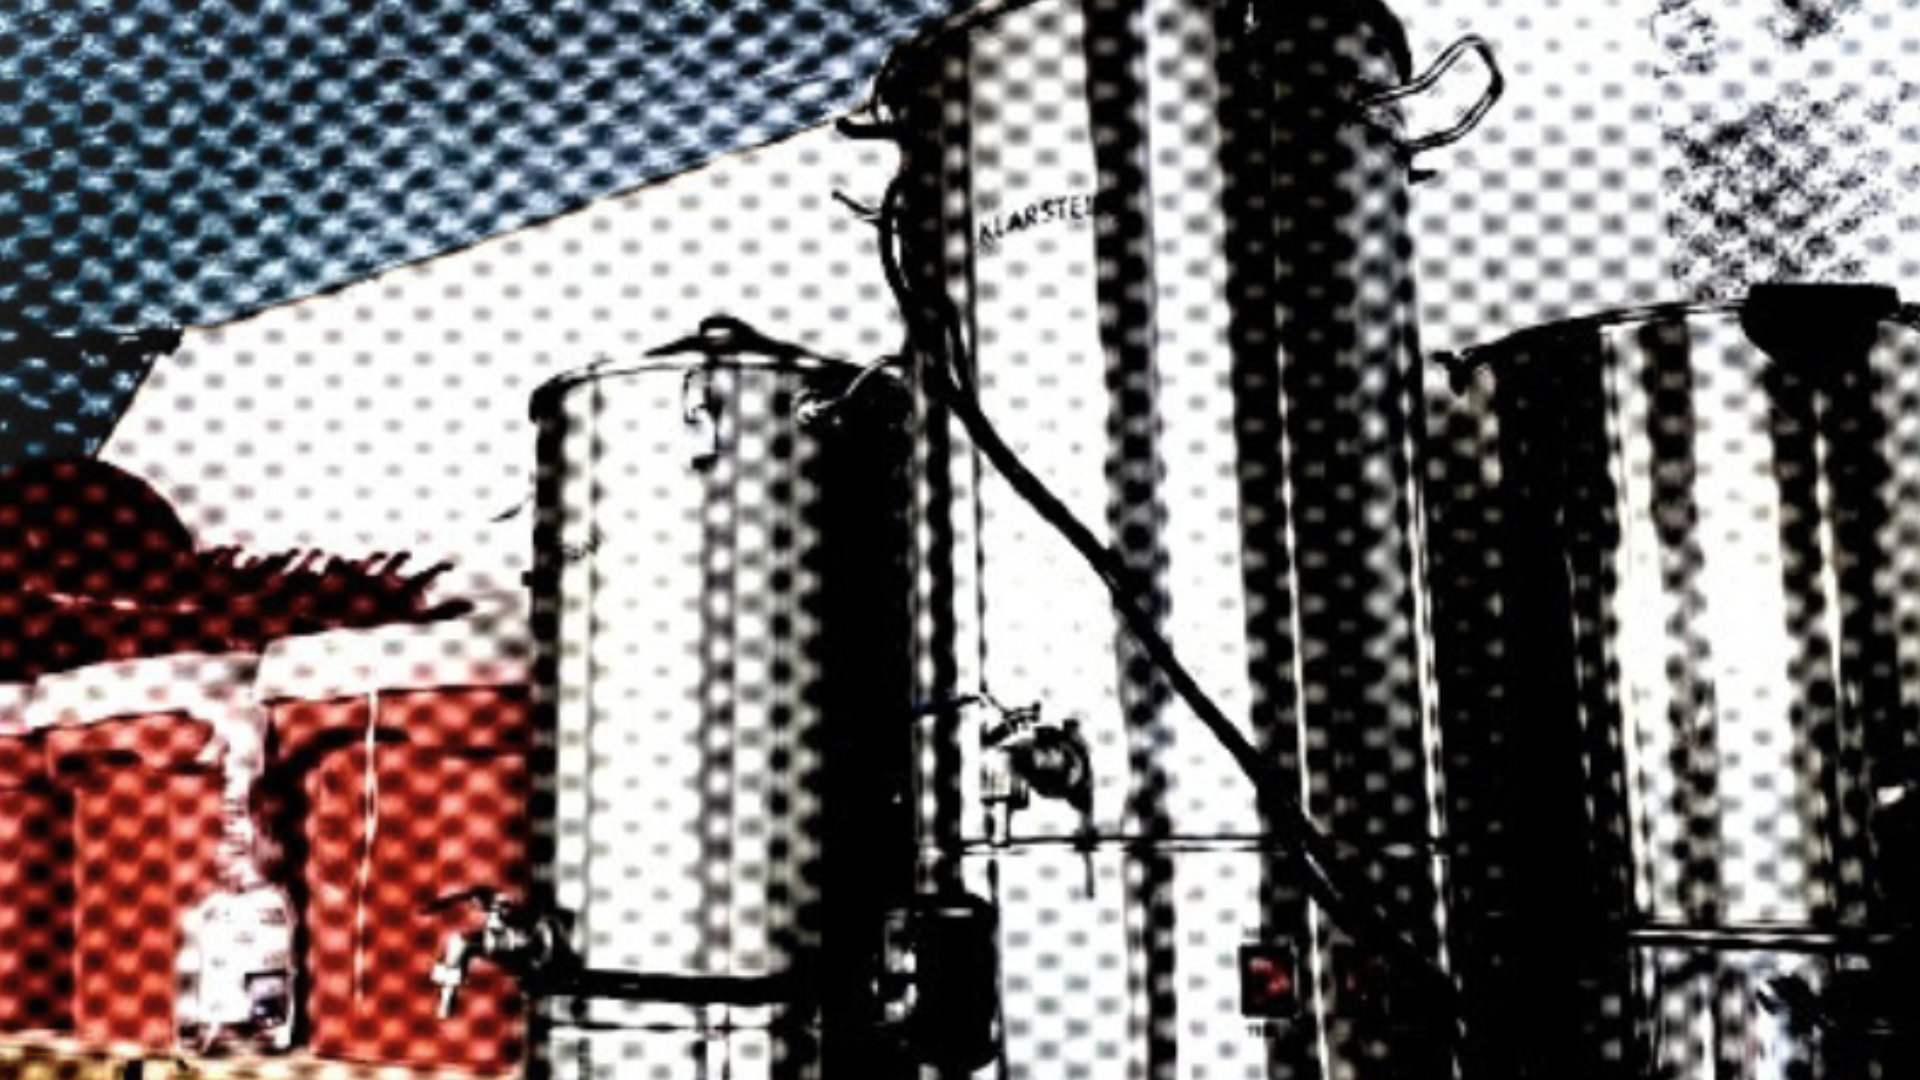
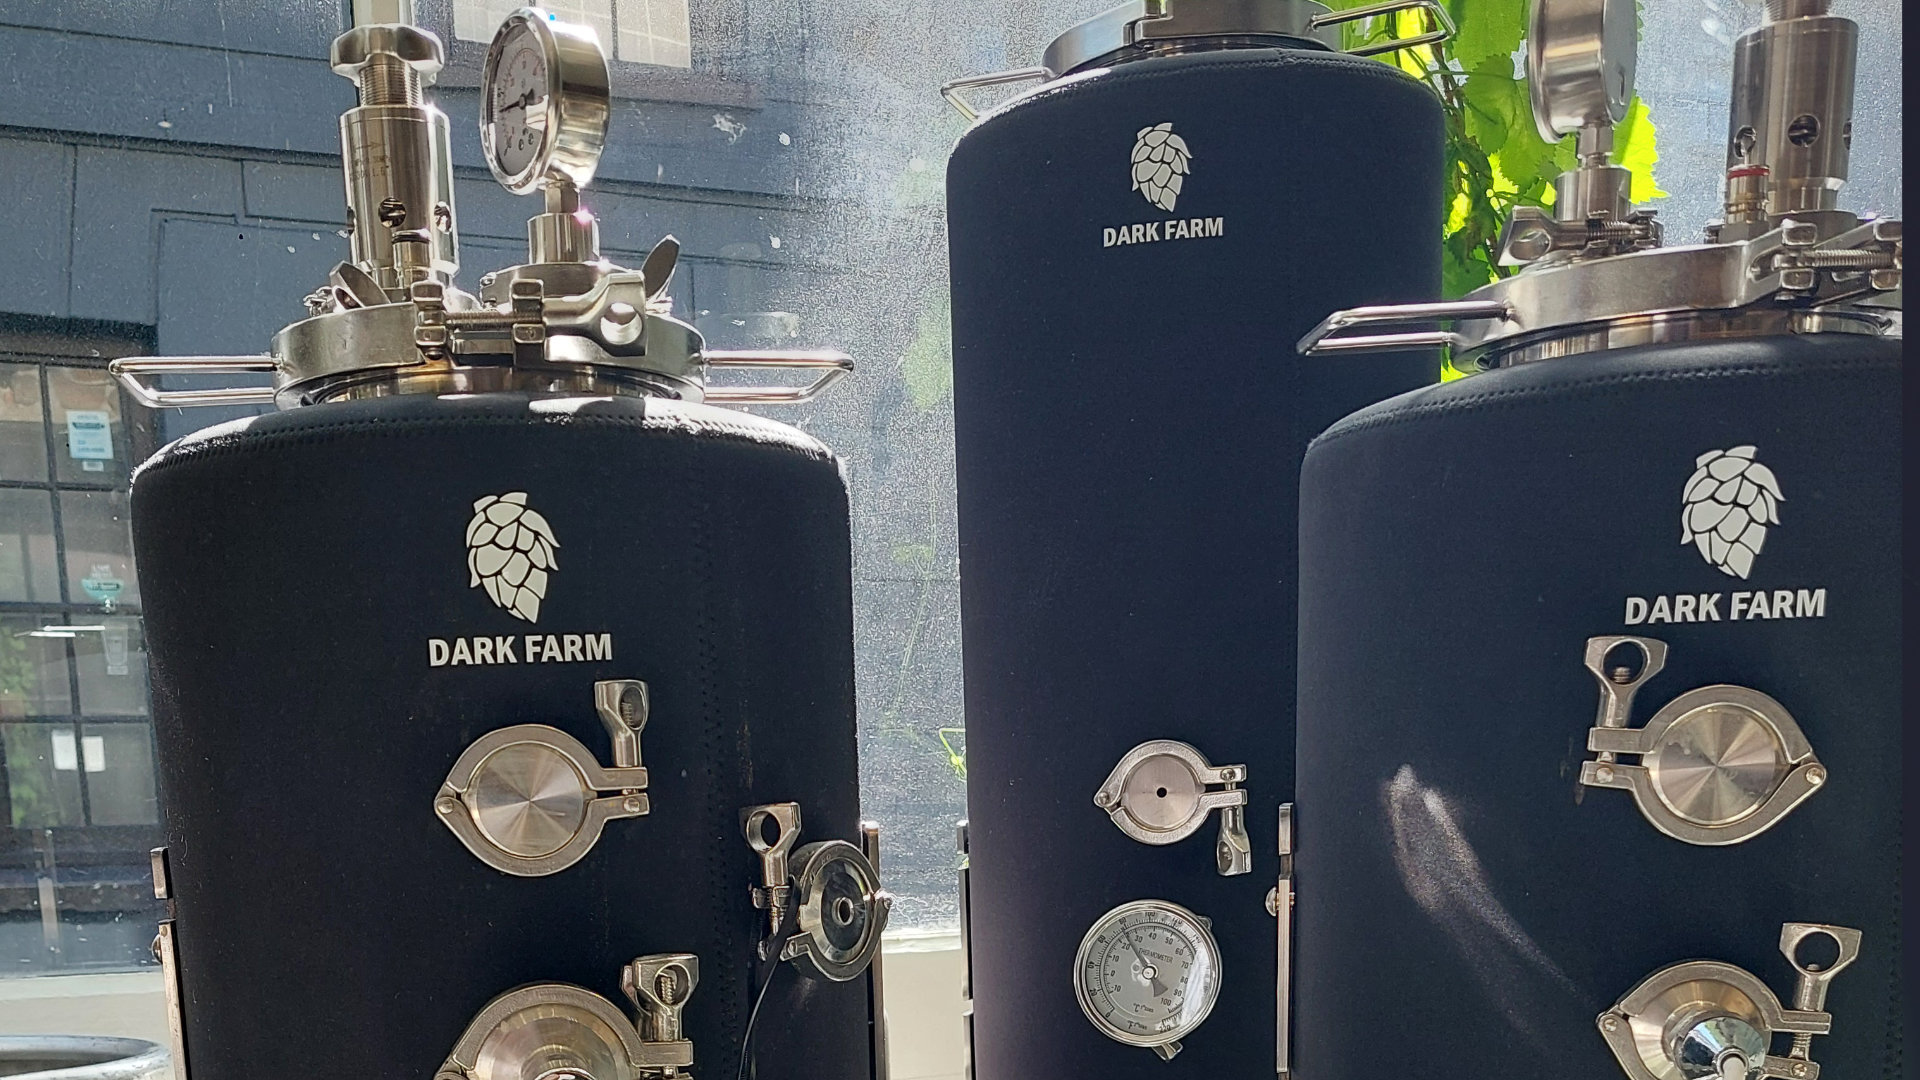
By October 2021 I had outgrown the Klarstein (that’s what I told my girlfriend) and wanted something with more capacity. Most importantly it had to be simple and capable of being modified to suit my personal preferences. I was taken by the Clawhammer system from America but being American there is no way it can be used in Europe, as they have some very strange electrical system there. By chance I read an article on the Dark Farm Brew Tank and realised it was European-friendly and similar to the concept of the American contraption. At the same time Nikita Vorontsov produced a video about the 40L version and having watched that 20 times, Googled loads and pestered Gareth with questions, I eventually ordered a 60 litre version with the ‘Summit’ bundle, 3KW heater and a mashing basket.
The reason I went for the 60L version was simply because there were no 40L ones in stock and the price seemed reasonable. Having now used the system for some months I am actually very thankful that there were no 40L tanks in stock! I also am a firm believer in keeping it simple (KISS), as much as I enjoy a brew day, I wanted it to be efficient and preferably half a day not a full one.
We designed the Brew Tank so that it can be adapted to your personal brewing specifications and we love to see how people are customising it. Simon was one of our first customers to purchase the Brew Tank and was quick to improve some of the teething issues we had. Mainly the PVC hoses were not up to scratch, but we quickly replaced them with Platinum Cured Silicon hoses as standard or braided hoses (available from our webshop: darkfarm.co.uk). Another area of improvement was the temperature controller but as you know from the last issue we are almost ready to launch our own controller for a 3KW heating element! Please get in touch to share your Brew Tank setup, we would love to hear from you.
Gareth Davies, Dark Farm
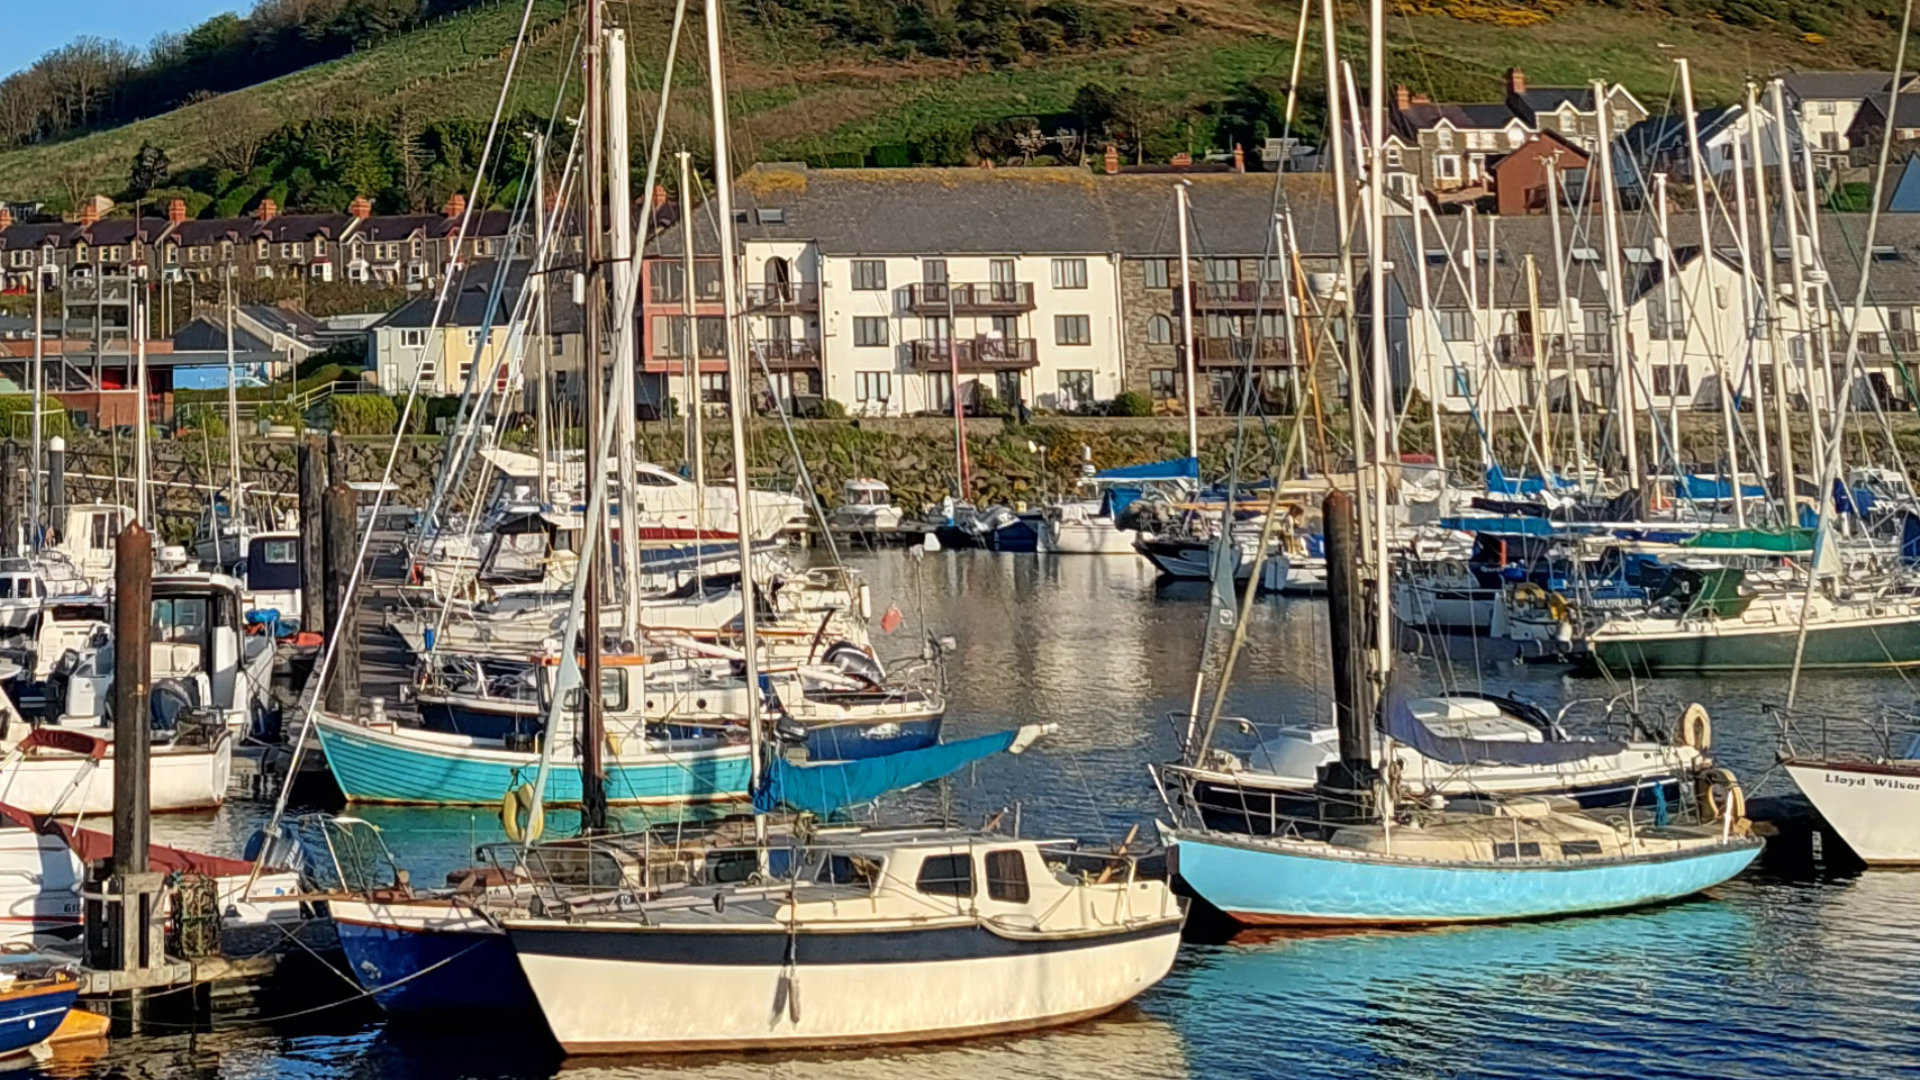
I live in a forest on the North Estonian coast, my water is from a well and a constant 13°C. I usually aim to produce 28 litres of wort, which nicely fills an All Rounder fermenter. I can’t be bothered with sparging, so I start with 38 Litres of water and recirculate through the spinning ball during the mash. It takes 35 minutes to reach 65°C, I usually mash for 60 minutes and boil for 45 minutes. Boilover is never a problem due to the additional capacity. Whilst boiling I have the T-valve set to the whirlpool port which then ensures a constant flow of liquid over the heating element and prevents any scorching.
Including clean-up I can normally complete a brew session in around 4 hours from the start. I have a couple of times done double brews to fill two All Rounders where I do have to sparge, and this including the longer heating times is nearer to 5.5 hours. Using the Brewer’s Friend calculator, my mash efficiency is around 72%, which seems satisfactory.
So in summary I am now really pleased with my personalised set up. The quality of the Brew Tank is excellent, it’s well made and the insulation is very effective. I thoroughly enjoy my brew sessions and have no regrets of going with the Dark Farm Brew Tank. Thank you Gareth for developing it!â€
MY BREW TANK SETUP AND UPDATES
1. Controlling the mash temperature: I retired the Inkbird to a Kegerator and made a self-built PID controller using an Inkbird PID unit, SSR (Solid State Relay) and thermocouple. This worked much more efficiently, although the PID unit does have to learn your system. It took me about 3 hours to make the controller and I added pump control at the same time.
Logic told me that if you controlled the wort temperature as it entered the mash basket it must then be less likely to fluctuate. Now I could have bought a RIMS system but having seen videos of them I thought them a bit too complicated for my needs and a waste of the 3KW element. I found a right-angle tri-clamp bend with a thermowell port. Once fitted it solved all my problems and now the temperature band is always within half a degree C. I do still use the thermowell on the back of the brew pot, as it fits nicely for the boil. It takes just a few seconds to move the thermocouple.
2. Upgraded the hoses: Switched to steel braided silicon pipe, which also seems to have decreased temperature loss.
3. Reduced coupling and minimised accessories: To simplify the system I went online and purchased a tri-clamp T-valve. Wort can be directed to the mash port or the whirlpool port at the turn of a single valve, or switched off. Two butterfly valves became surplus, no more moving hot tri-clamps and a far simpler cleaning operation at the end of brew day. Another advantage of having the T-valve on the outflow side of the pump is that you can control the flow without starving the pump of liquid.

.jpg)
.jpg)