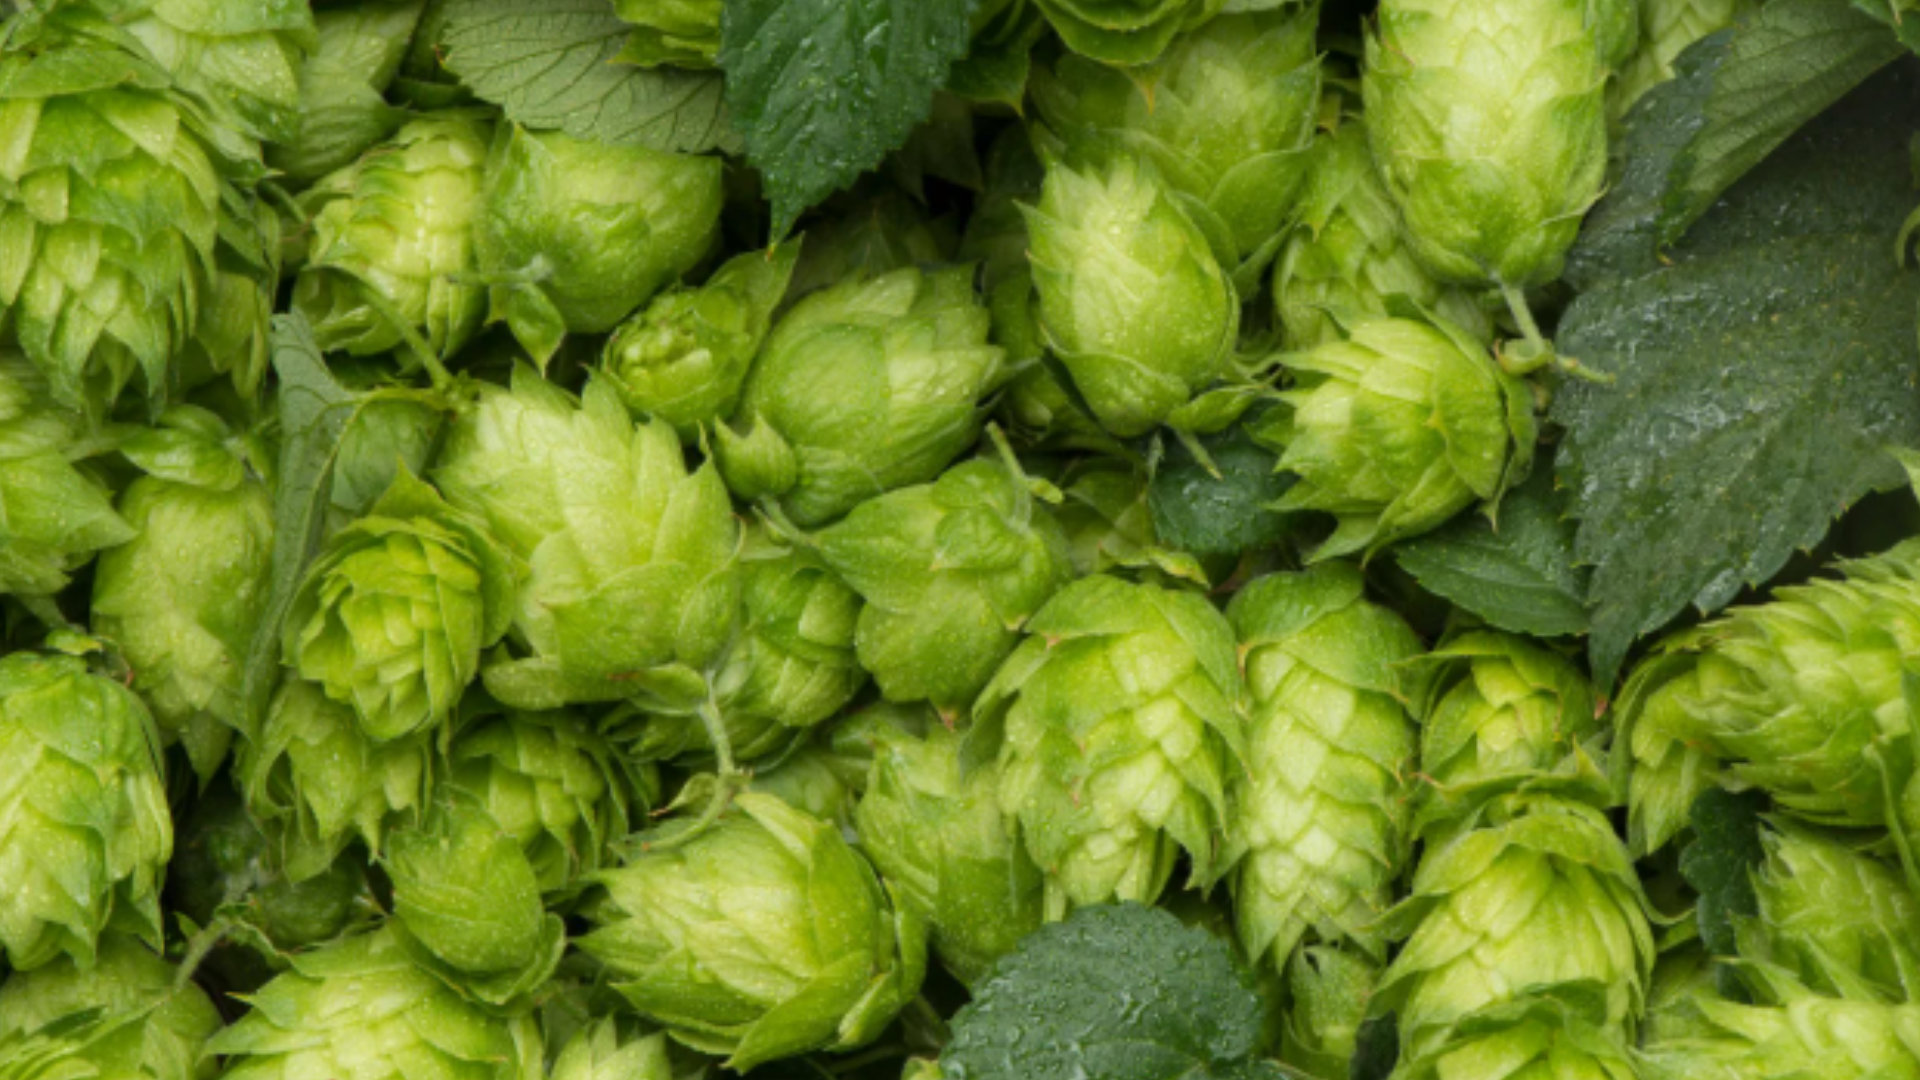
Growing your own barley is like growing your own hops at home - not necessarily the most cost effective way of doing things, but highly rewarding. Garden to pint would be a proud achievement of any homebrewer!
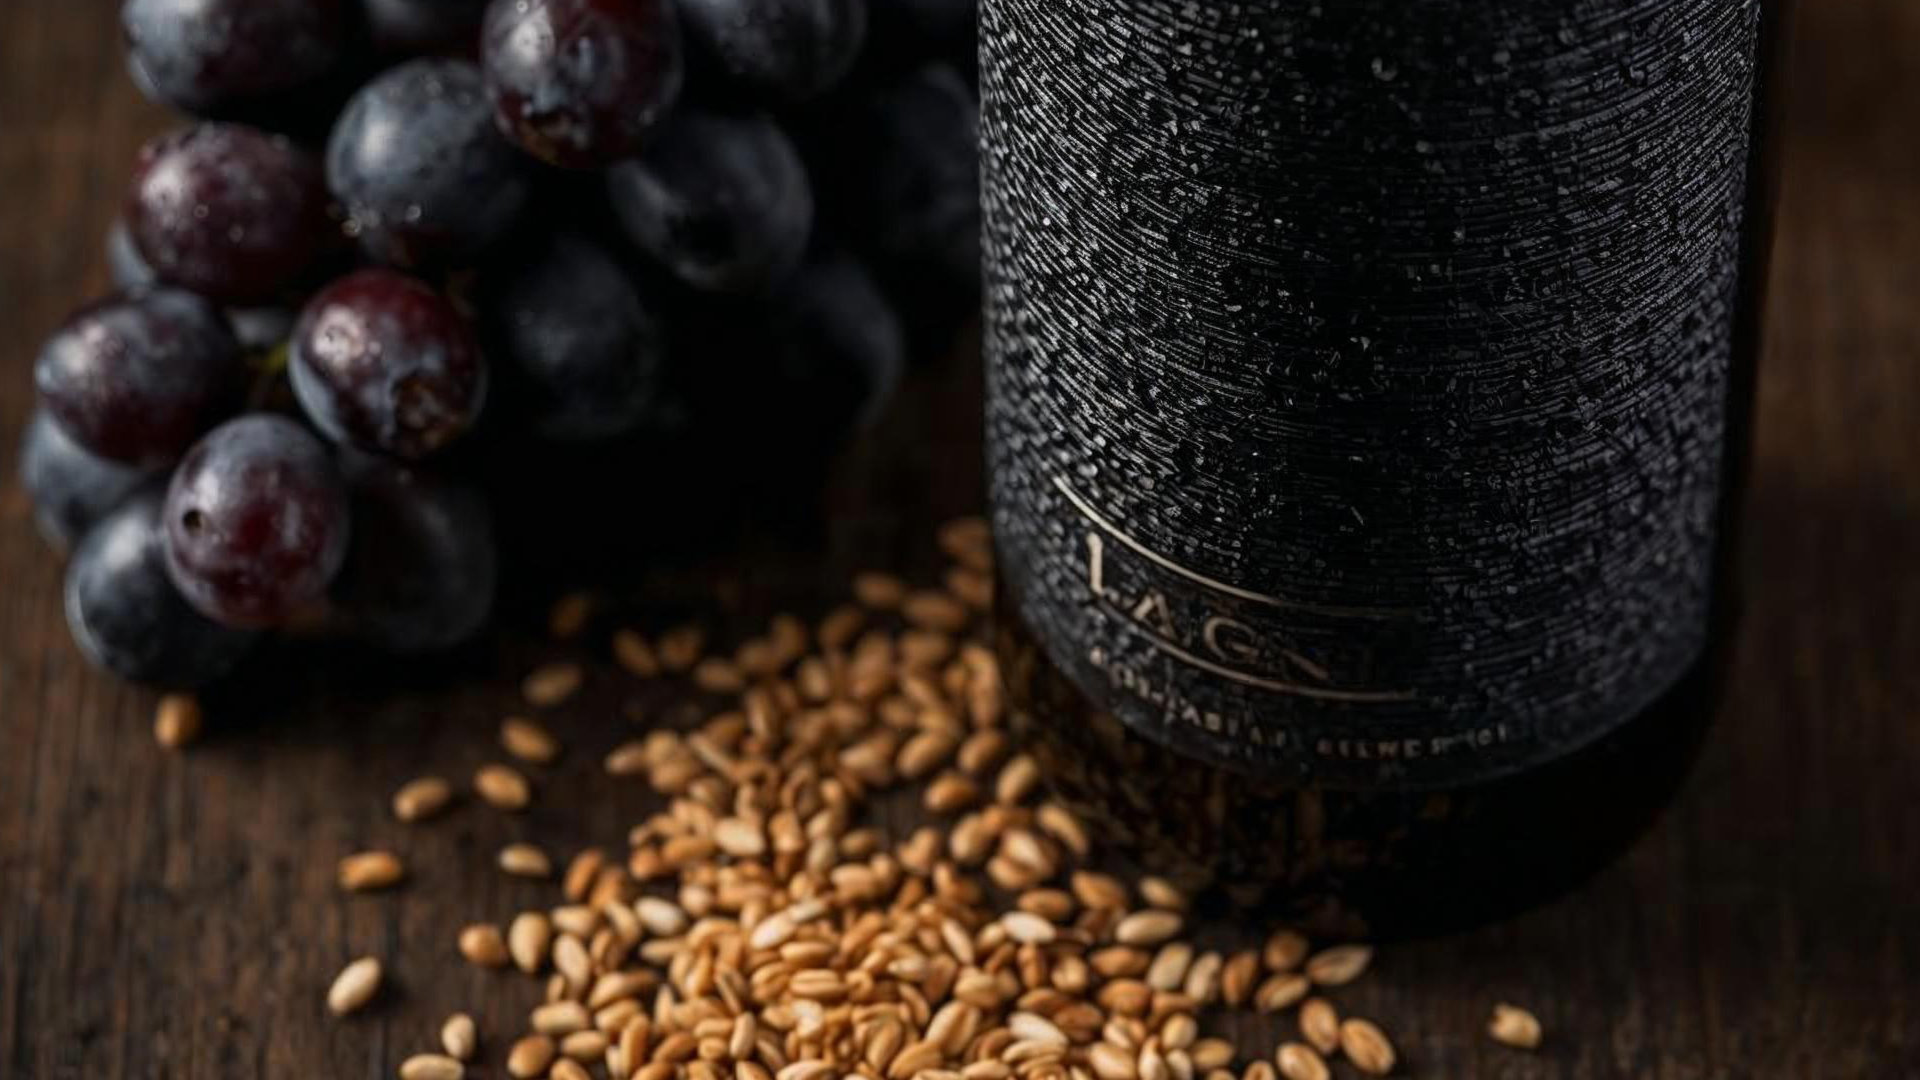
So, always up for a challenge, we have ordered 25 kilos of barley seed to plant on our farm. It’s a malting variety approved by the Maltster’s Association of Great Britain for both brewing and distilling. We’ve worked out the coverage required to supply me with enough malt for my homebrews, and will be planting it in the autumn. So (hopefully) by next spring we’ll have a small field full of barley.
Malting
It’s all very well growing barley but there is another important step before we can make beer with it: Malting.
I have to be honest, before I started researching this project last year I had no idea how to turn barley into malt and was surprised with what I found. In basic terms, malt is barley which has been germinated and dried. My wife is a big fan of sprouting this and that and tells me that things like sprouted seeds are more full of goodness than unsprouted ones. The malting process does the same thing with the barley grain, ensuring you create the sugars and enzymes needed to make the whole brewing process possible. It’s a shame that beer doesn’t carry the same health benefits of sprouted sunflower seeds!
Soaking
Soaking wakes up the barley and helps trigger the germination process. It also cleans the grain and gets rid of any unwanted particles, giving you a better brew. This stage is straight forward but is actually quite easy to get wrong.
Firstly, use a clean, food grade bucket and half fill with your grains. Pour cold water over the grains to fill the bucket up to about 75% capacity - which should provide enough space for the grains to expand. Leave to soak for about 8 hours in a cool place, around 10-15°c. Don’t worry if it’s slightly over 8 hours but ensure that it’s no more than 16 hours as you’ll drown the grains!
Draining
After you’ve soaked your grain, drain the barley using a colander. You now need to air dry the grains - they are alive and need to breathe! Spread them out in a clean environment for 8 hours. In the meantime, it’s important to clean your bucket again with hot water and, if you have it, food grade steriliser.
After they’ve air-dried for 8 hours, repeat step one again. Remember that the bucket must be sterilised first! After the second soaking, examine the grains. You are looking for small white rootlets appearing at one end of the grain - these are called chits. Once around 95% of the grains have chits you’re ready to start the germinating stage. If you don’t have 95% chits then drain, air dry and repeat again. On average this takes 2-3 soaks.
GERMINATING
Okay, so you’ve got your grain with their little chits. Now it’s time to germinate. Spread out your grain onto a baking tray; you want a thin layer. Pop the tray into a plastic bag and fold over the end. This will create a moist environment for the grains to germinate. Now place your tray with the bag wrapped around it in a cool, well-ventilated room at around 18°c. A garage or cellar is ideal. Be careful not to let it get too hot or cold, and keep an eye on the moisture levels. If it’s too dry the grain won’t germinate, if it’s too wet it may cause mould to grow.
Barley will create heat during germination, so you’ll need to mist the grain with cool water three times a day (use a squirter bottle with a mister attachment). Then turn the grain using your hands and place the tray back in the bag. Each time you mist, check your barley for signs of germination. Select a few seeds and see if a shoot is starting to grow in the opposite direction of the chits. Once this shoot is the same length as the seed then the job is done. This can take 2-5 days.
DRYING
You can dry your grains a few different ways. The easiest is by using a dehydrator or an oven. Spread the grains out on a tray, pop them in and set the thermostat to 50°c. Keeping the temperature low means that you’re not destroying the essential enzymes needed for extraction. Leave for 6-8 hours and then check for the “doneness†by pulling the rootlets from the grain; if they come away easily then they are ready. If not, pop them back and check them each hour. At this point, the rootlets should be falling off; you may need to agitate the grains to remove any remaining ones, (do this outdoors as they will go everywhere!) Once done, store in an airtight container ready for brew day.
.jpg)