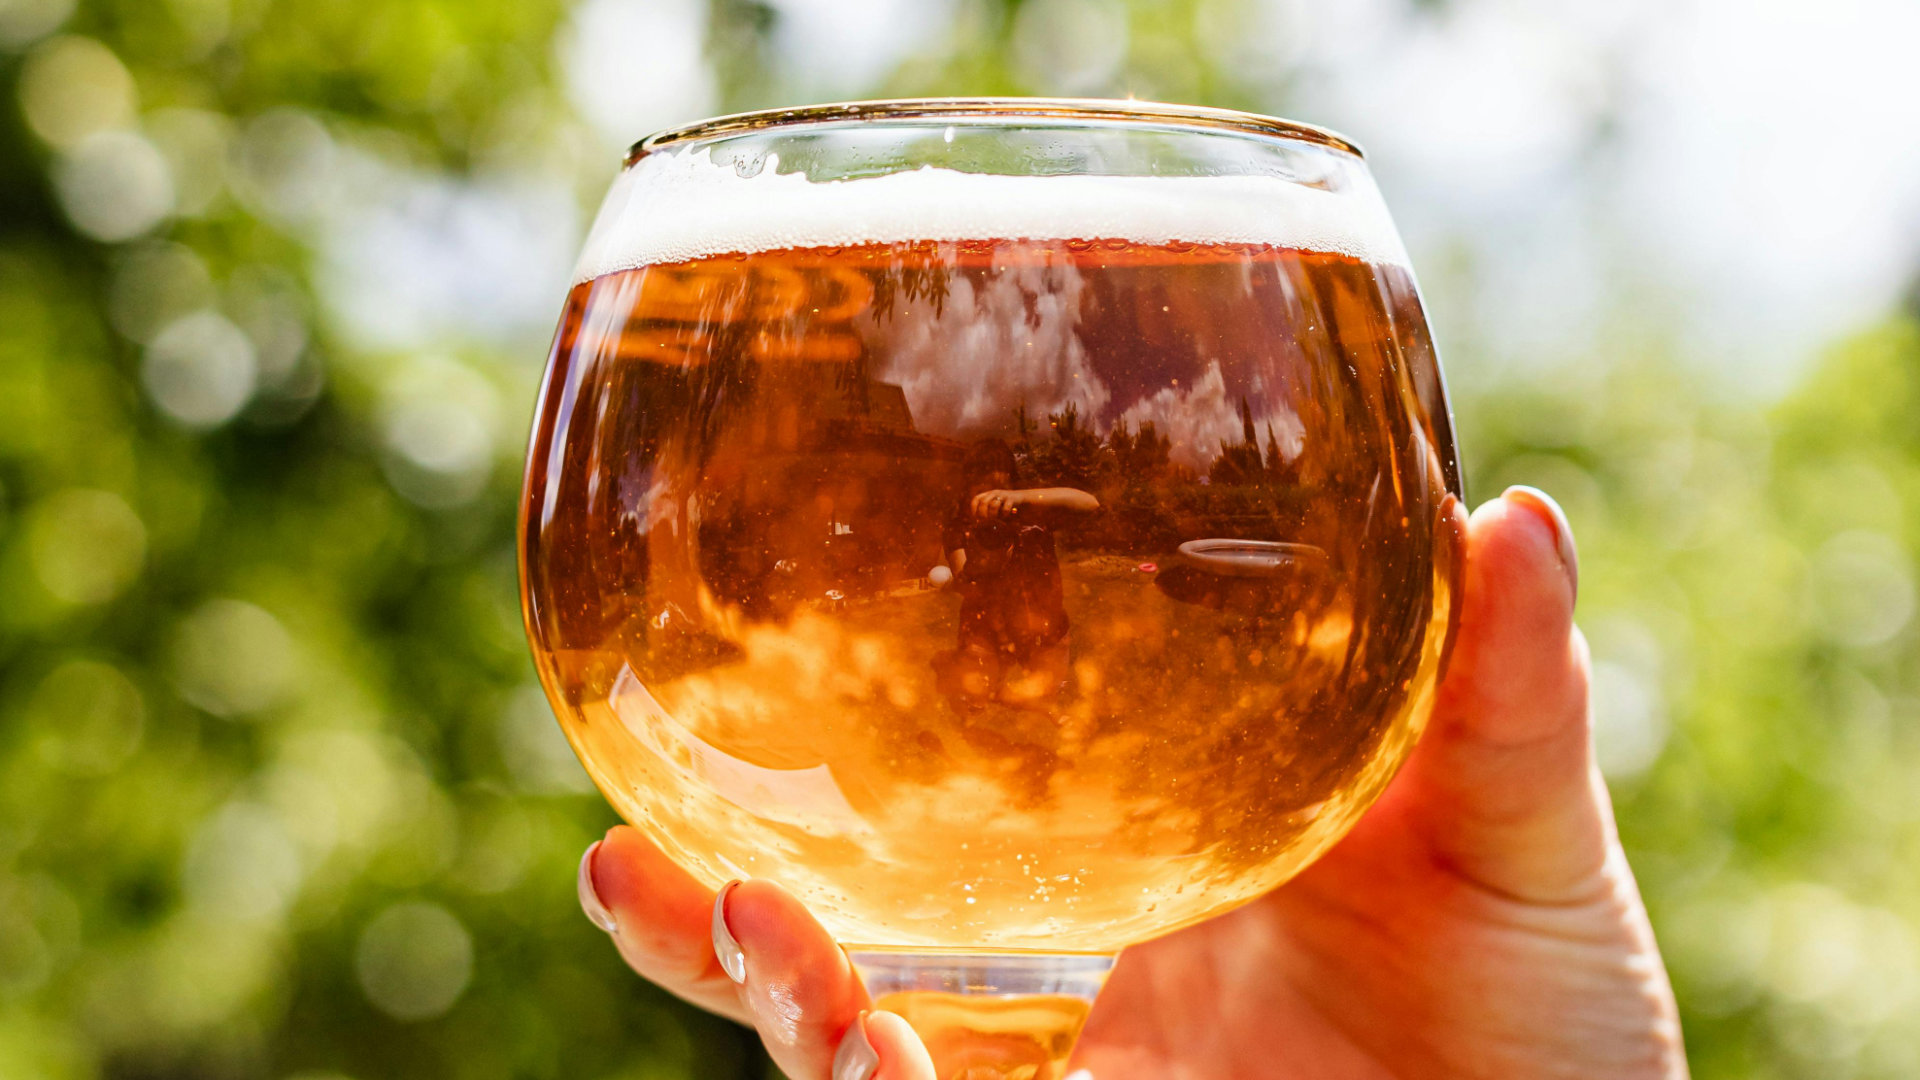
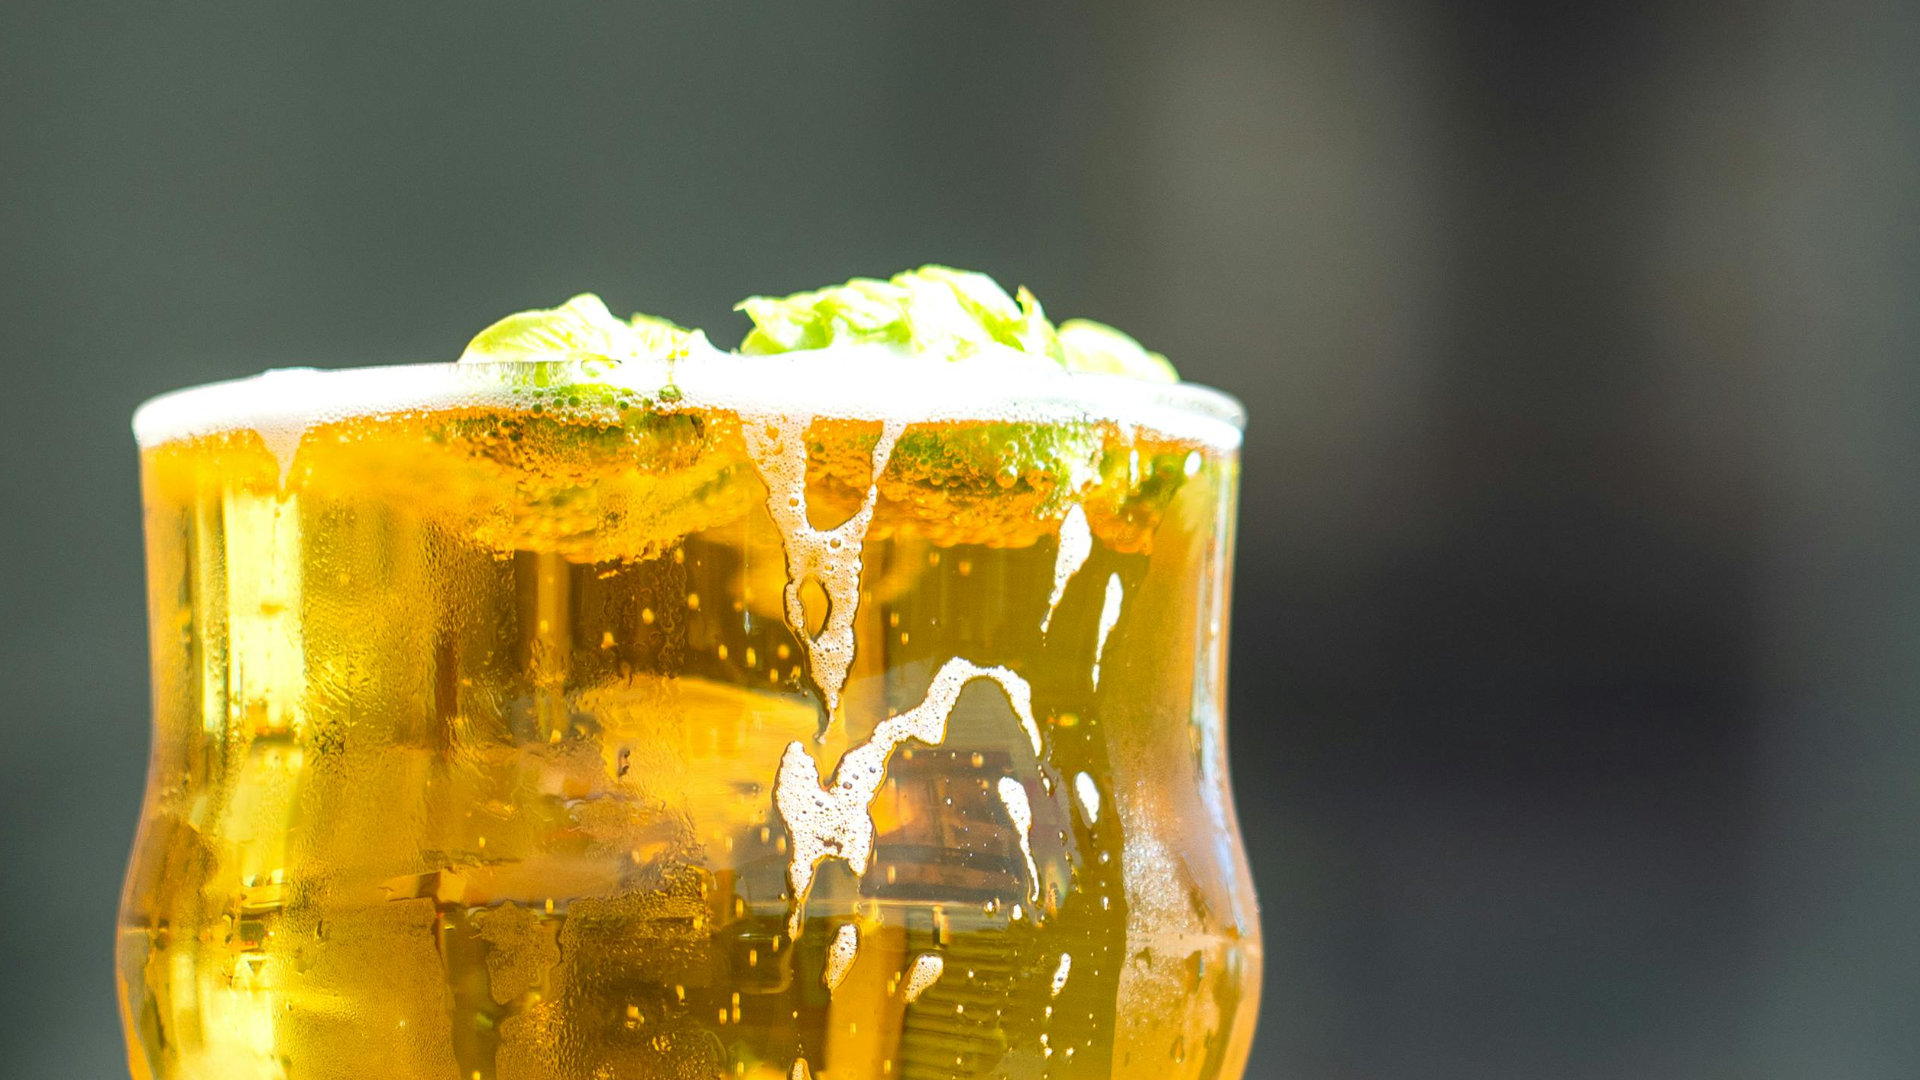
It has to be said that there’s a certain satisfaction from producing a nice clear brew. You’ve seen other homebrewers posting pictures of a pint you can see straight through and you might be keen to get the same results. Here’s their secret: it’s all about the haze. Or rather, the lack of it.
But let me start by saying that, generally, minimising haze and getting a bright beer is for presentation purposes rather than taste. So if you never get a clear beer, it’s not the end of the world. So don’t sweat it; keep on brewing. Let’s go for progress not perfection! Sure, it’s something that’s expected from commercial breweries, but as a homebrewer if your beer tastes good some haze shouldn’t get you down. Indeed, some styles are meant to be hazy - Hefeweizen, Witbier and hazy IPAs, for example. That said, the polyphenols which contribute to beer haze can increase the rate of oxidative staling, thereby reducing its shelf life. Though if you’re anything like us, our homebrew doesn’t last long enough for that! But if you are looking to up your game and improve your craft with a bright pint, here are some pointers to help.
What is haze?
Simply put, haze is the presence of proteins, polyphenols, yeast and/or bacteria in your beer. Let’s take a closer look...
Chill haze - The result of malt-derived proteins bonding with polyphenols from hops, chill haze is a colloidal haze that occurs when a beer is chilled. It has no impact on the flavour of your beer and will disappear at room temperature.
Yeast haze - While a Hefeweizen will purposely have a yeast haze, many other beer styles don’t want a yeast haze. To avoid this, choose a yeast with a medium to high flocculation. These strains form large flocs which will then drop out of suspension, helping you get a clearer brew. If you do get a yeast haze, try cold conditioning/lagering or filtering your brew.
Starch haze - Unconverted or insoluble starch can create haze. This might be because the mash temperature has been off, so keep an eye on that to ensure you keep it in the right range. Also check your malts to see if they should be mashed or steeped. As well as looking less pro, this starch can increase the presence of wild yeasts and bacteria, and can give you a gassy stomach as the starches break down in the gut. Parp...
Tip: An iodine test will let you know if the starch conversion is complete.
Infection: a bacterial infection or old/mishandled beer (e.g. from fluctuating temperatures) will also cause haze. Sadly, there’s no fixing a seriously off beer. For future brews, pay attention to improving sanitisation.
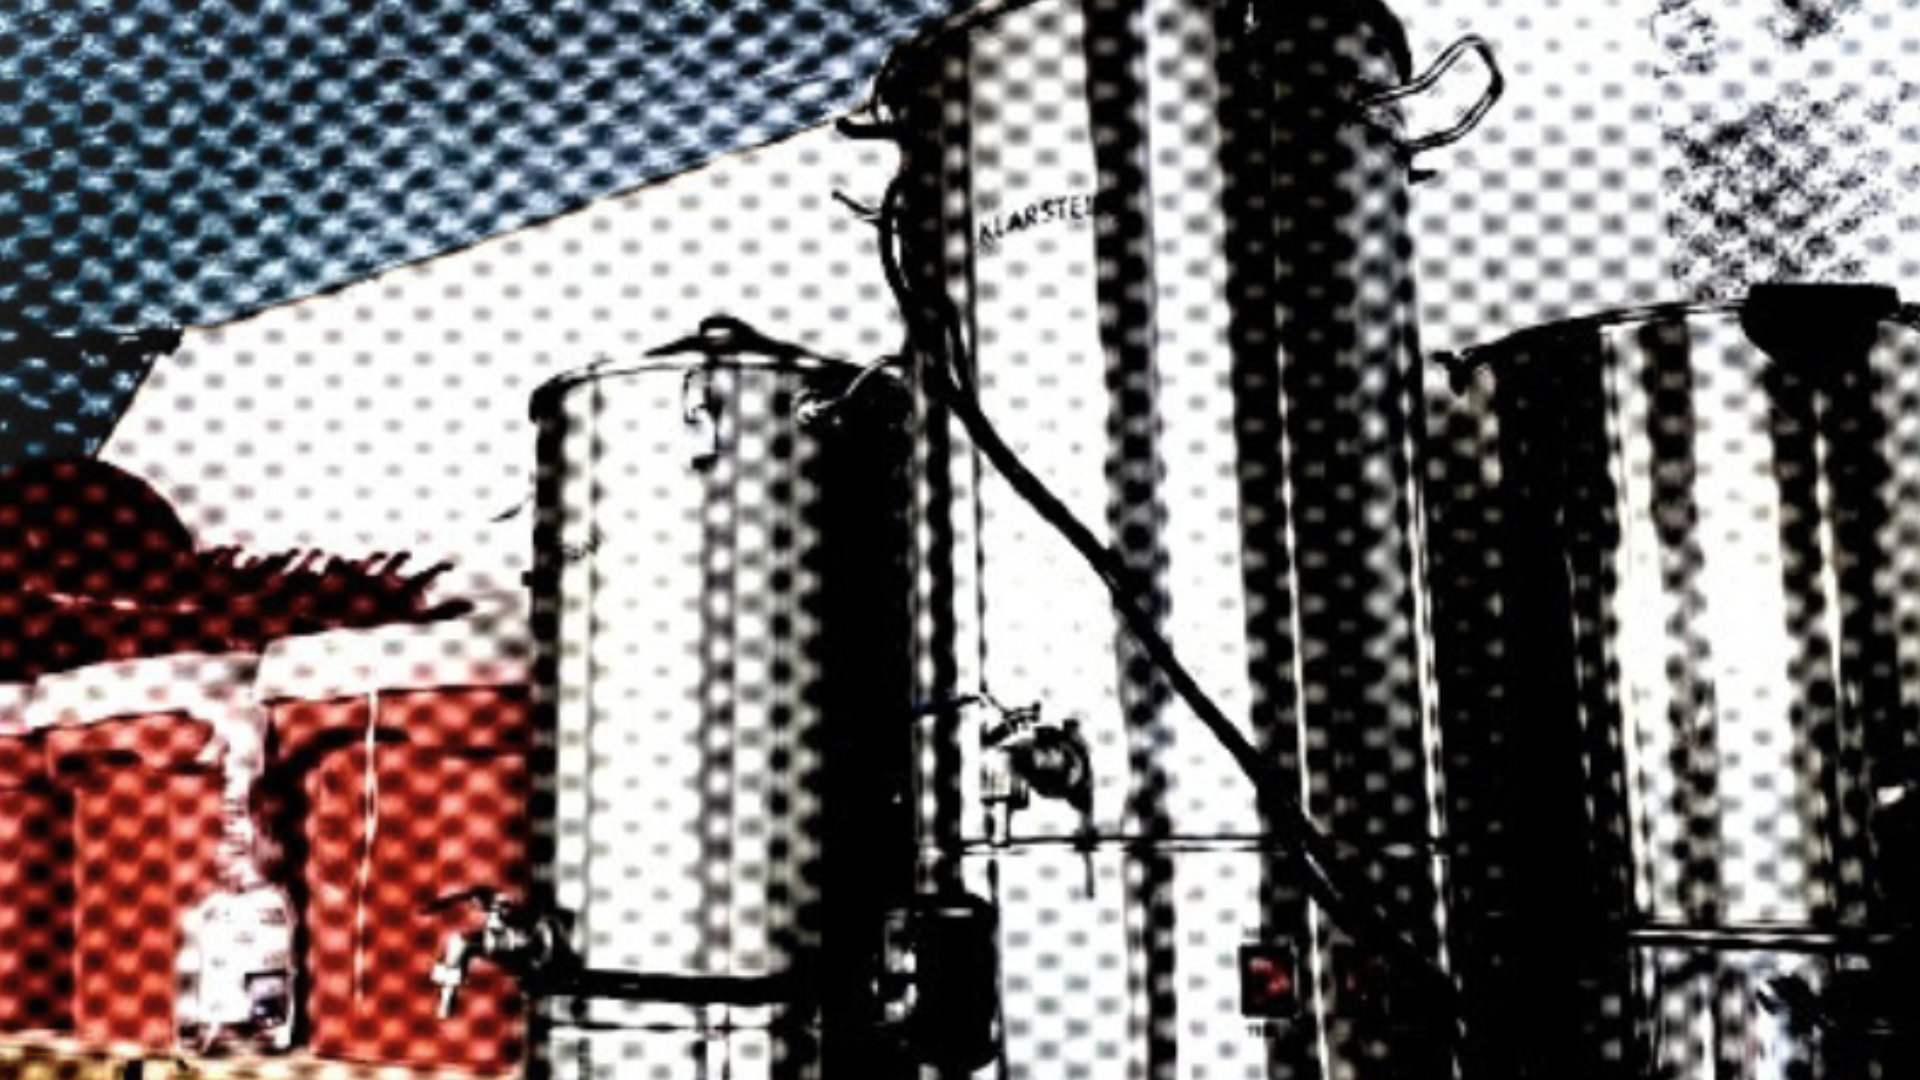
HOW TO REDUCE HAZE
THE RECIPE
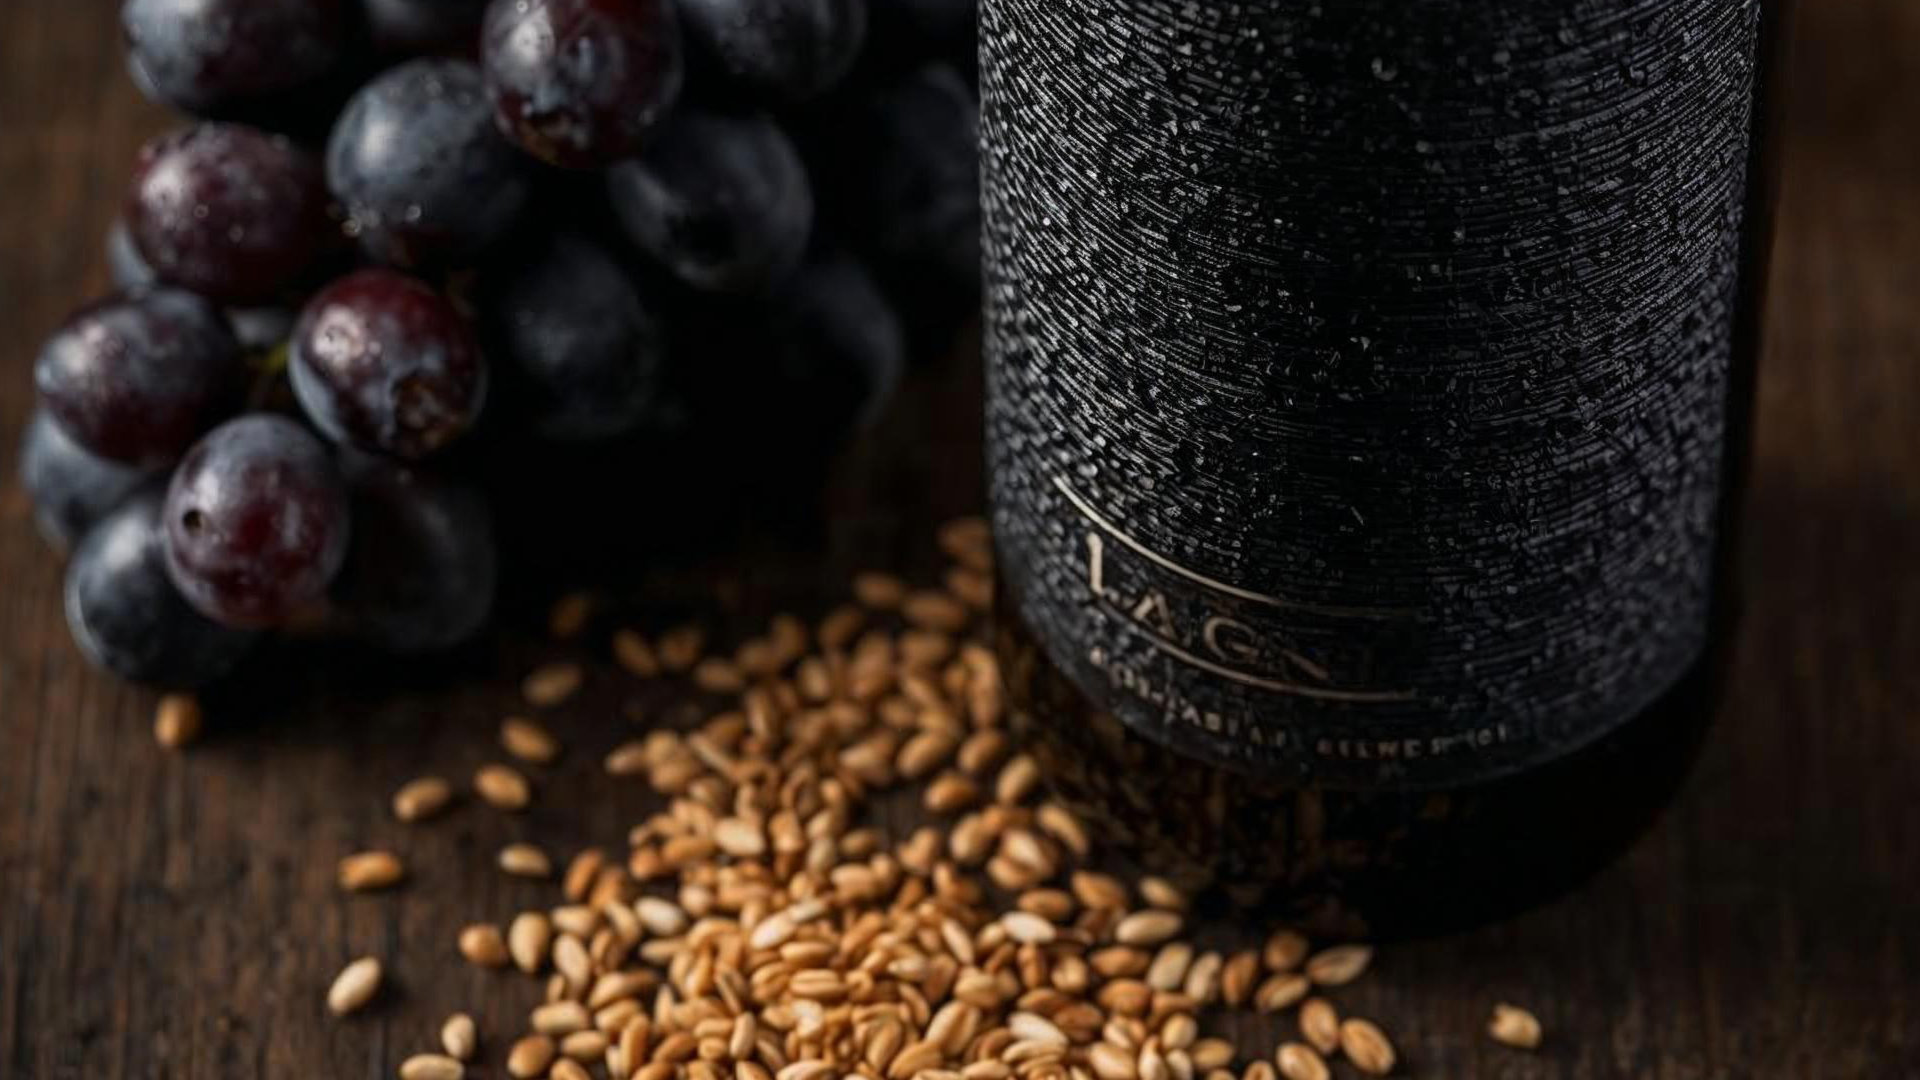
Grains - Select well-modified malts if you want a brighter beer. Most base malts are well-modified, but German malts like Munich aren’t. You might also want to go for low protein grains and adjuncts like corn or rice. Go bold if using wheat - aim for 40% of the grain bill - using small amounts (5%-12%) will create a haze. If you mill your own grains, be sure not to grind them too fine or this will release more polyphenols into your wort. You want cracked grains not powder.
Hops release polyphenols into your wort and low alpha-acid hops will create more haze, as will dry hopping your brew. You might want to experiment with hop oils to replace your aromatic hops as they lack the polyphenol-containing vegetive matter of whole/pellet hops.
Yeast strains have different levels of flocculation. This refers to the process when yeast cells clump together during fermentation to form flocs, which will then drop out of suspension. For a clear beer, choose a yeast that provides medium to high flocculation. It’s also worth noting that poor or low wort aeration can result in early and incomplete flocculation, so get aerating before fermentation to increase the oxygen levels in your wort.
PRE FERMENTATION
Protein Rest - A simple process, the protein rest is done at the beginning of your mash at approx 50°C for around 15-30 minutes. This stage activates certain enzymes in the malted grains that break down haze-causing protein chains.
Since modern base malts are well-modified, a protein rest isn’t usually necessary. In fact, it can reduce the body of your beer when used on well-modified malts. But German malts like Munich are less modified so could benefit from a protein rest. This stage could also be useful when using high protein adjuncts like wheat.
Hot Break is the foam that forms on your wort during the boil phase. It can take 5-20 mins to form. The foam is mainly made up of malt-derived proteins and polyphenols like tannins. When your wort comes to a boil, proteins begin to coagulate forming larger particles, which will then sink to the bottom of the brew kettle. If these proteins and polyphenols remain in the wort they can cause haze and other problems in your finished brew. Tannins, for example, will make your beer astringent.
So creating a decent hop break can improve the overall quality of your finished beer, not just clarity. To achieve this, make sure you’ve got a strong, rolling boil. If you’re not getting a decent sized hot break, the pH of your wort may be too high - it may be worth looking at your water chemistry (see issue 007 for Fran Maud’s article on water treatment or at www.darkfarm.co.uk/whats-happening).
Whirlpooling - be careful not to destroy your hot break flocs during whirlpooling as this will make them hard to remove and will make your beer less clear.
Cold Break - chilling your wort quickly using a wort chiller will help you achieve a good cold break. Which can help prevent chill haze and give you brighter beer. The rapid drop in temperature thermally shocks more of the protein out of the wort, which you can then leave behind in the kettle. (Though some homebrewers like to include some of it in the fermenter for its yeast-friendly nutrients).
Sparging - If you sparge, keep the temperature at less than 82°C so as not to release excess tannin-type polyphenols from the grain bed.
CLARIFIERS
Irish Moss flakes - this is a gelatinous forming type of seaweed that is added during the last 15 minutes of the boil to help coagulate and settle out proteins. It improves the formation and compaction of the hot-break.
Protofloc tablets - made from seaweed, Protofloc is added to the wort in the kettle during the last 15 minutes of the boil to enhance protein removal as the wort cools. Add 1/4 tablet per 22L (5 gallons) of wort. Similar properties to Irish moss.
ClarityFerm from Whitelabs is an enzyme that gets to work during fermentation to eliminate chill haze by hydrolysing haze-active polypeptides - without impacting your flavour or aroma. Add it when you pitch your yeast. Interestingly, ClarityFerm also reduces gluten to ‘gluten-free’ levels in beer brewed with barley and wheat, which can be useful for beer lovers who can’t do gluten.
Gelatin - protein extracted from the skin, tendons, ligaments, and/or bones of cows/pigs. Add to fermenter before racking to keg or bottling bucket, or directly to a keg. Usually clears your brew within a day.
Isinglass - derived from the swimbladder of the sturgeon fish. Add to fermenter after fermentation is complete, or to the bottling bucket when you add the priming sugar solution. Good for settling yeast particles and some protein haze.
PVPP/Polyclar - eliminates chill haze by removing haze-producing polyphenols. Also prevents the oxidation of flavonoids, which contributes to harsh, astringent and stale flavours in beer. Add after fermentation but before bottling. Likely to settle out your beer in one day. Rack carefully off the sediment or filter to avoid ingestion as PVPP is derived from plastic.
POST FERMENTATION
Lagering - this process assists in flocculation to bring more solids out of suspension in the liquid without the need for additives or finings. Chill at 0-5°C for 4 - 8 weeks (read more on this on page 16).
Cold conditioning - a speedier version of lagering, cold conditioning is ideal for ales. Leave at 4-10°C for 1-2 weeks, possibly with finings. As well is clearing your ale, it can help promote a smoother profile.
Filtration - if you don’t have the patience for lagering then you might want to get a filtration kit for your kegging system.Be sure to allow your beer to complete fermentation then leave it in secondary fermentation for 2-3 weeks before filtering, as you can negatively impact your flavour balance by filtering your beer too early. When it come to filter size, a 0.5 micron filter will make your beer brighter, but you might be compromising on your beer experience. Try a 1 micron filter to ensure you don’t strip out your precious flavours.
It’s worth noting that you won’t be able to achieve natural carbonation by bottling a filtered beer as the filters remove the yeast needed for carbonation. All the more reason to treat yourself to a mini keg, because you can then force carbonate your brew with CO2.