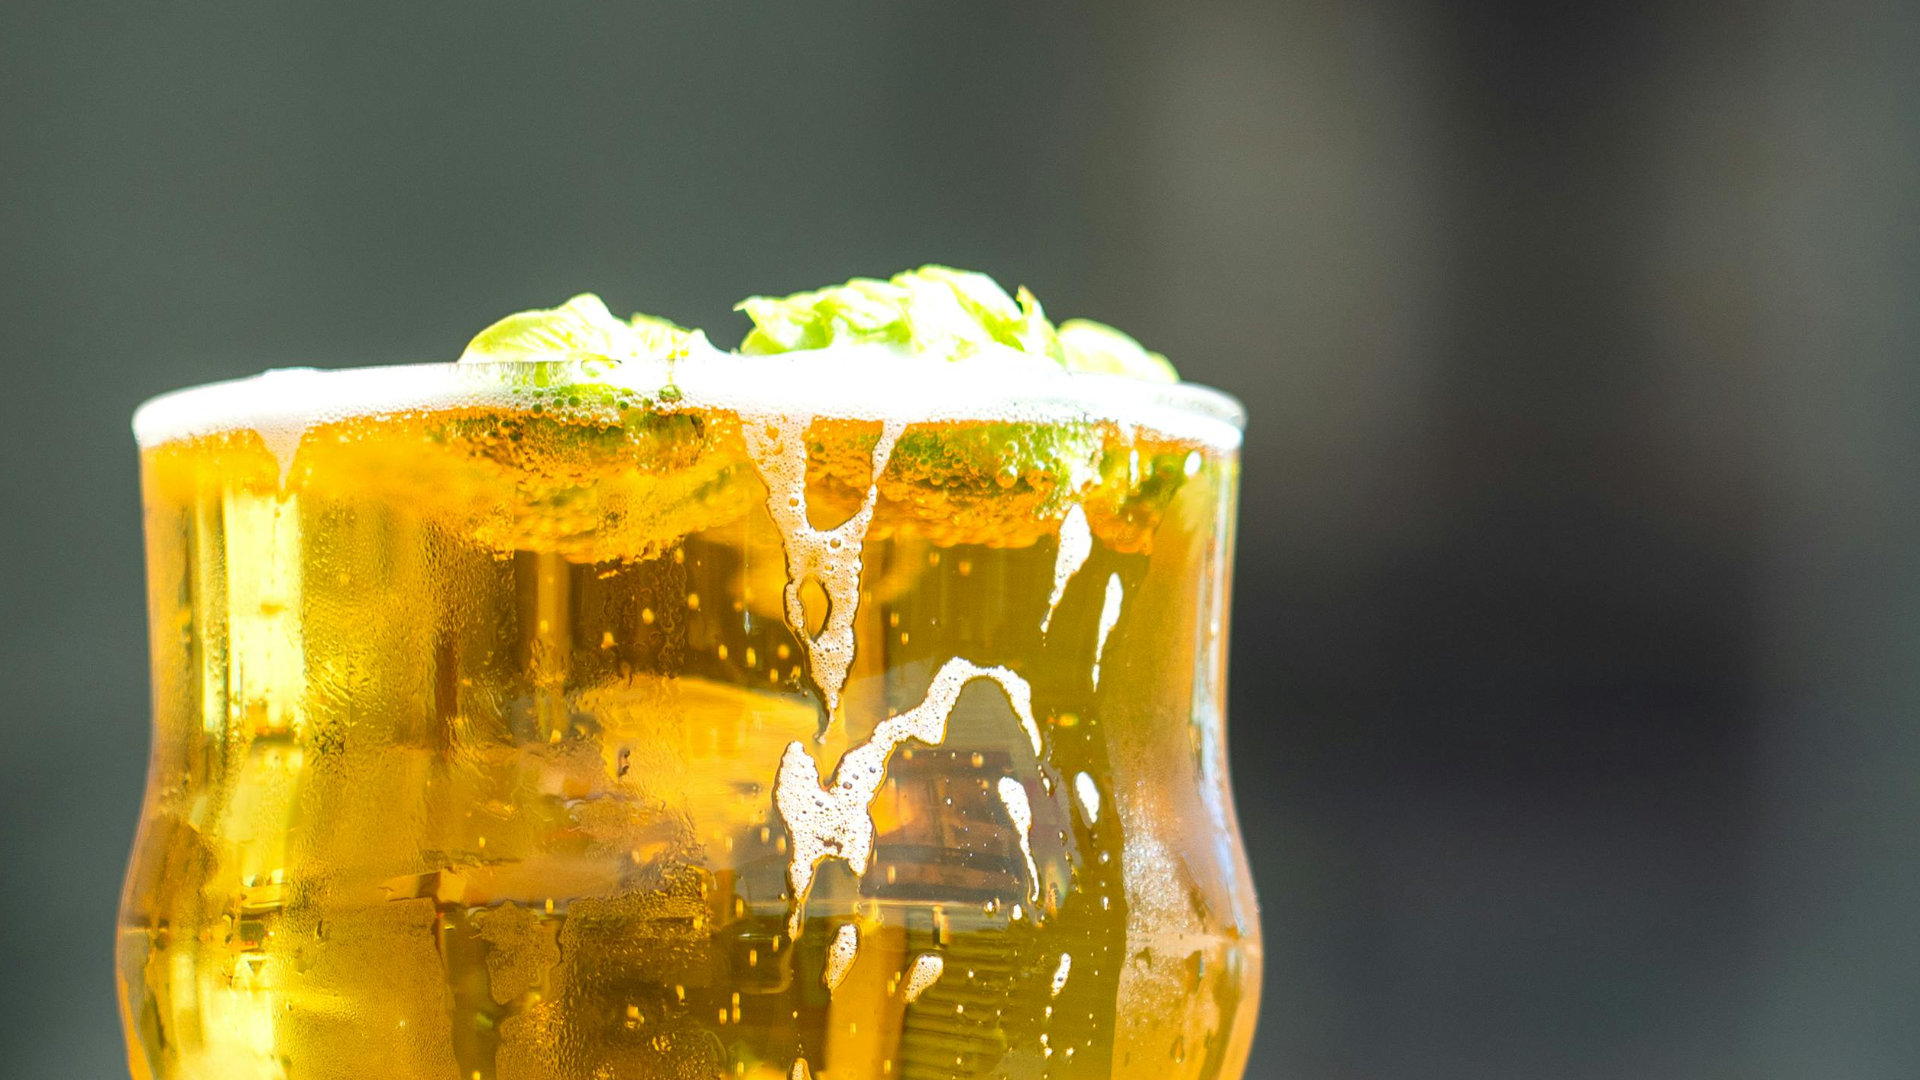
Derived from the German word, lagern - ‘to store’ - lager is made with bottom-fermenting lager yeast (Saccharomyces pastorianus) at cool temperatures (7 - 13°C) and lagered after fermentation at between 0 - 5°C.
With a clean, malty flavour profile, lagers have less complex characteristics than beers from the ale family. The cool conditions used in the fermentation and lagering slows down the metabolism of the yeast, so you won’t find any fruity or spicy flavours or aromas in a lager. This means that there’s no hiding when it comes to brewing a lager. No mega hop punch to distract the nose and palate. But this is why brewing a good lager feels like such an epic win! So let’s take a look at lager and get some tips on how to brew a clear, crisp and cracking pint.
LAGER Vs ALE
The other family of beer is the ale family: brews like IPAs, APAs Weissbier/Hefeweizen, Gose. While lagers are bottom-fermented, ales are top-fermented beers, made with ale yeasts (Saccharomyces cerevisiae) preferring warmer temperatures than lagers (18-23°C).Â
HYBRID BEERS
Just to make things more interesting, there are a number of hybrid beers which are part lager, part ale. Kölsch, for example, is top-fermented with an ale yeast then cold conditioned like a lager. Which gives it a subtle fruity aroma and a slight creaminess, yet remains crisp. Other hybrid beers include Altbier, Cream Ale and California Common (Steam Beer).
PITCHING IT RIGHT
Esters, which produce fruit-like flavours, are not desirable in lagers like they are in ales. To keep esters at a minimum you want to pitch the right amount of yeast for a lager. Wyeast recommend 12 million cells/mL. Also be sure to aerate your wort: if your yeast has enough oxygen then it will consume the acetyl coenzymes (ACOA). These are molecules that combine with the ethanol and fatty acids in your fermenting beer to form ethyl acetate - the predominate ester in beers, ranging from pear-like to solvent-like in flavour. Which you don’t want in your lager.
Focus on one yeast strain and get to know it well. I would recommend W-34/70 [for a Helles], it’s a great strain that’s easily accessible. Get to know your pitch rates and pitch the correct amount for the beer you’re producing.Â
- James Mozolewski, Head Brewer, German Kraft.
STINKY BREW?
Don’t worry if your lager is churning out a nasty eggy whiff during primary fermentation - it’s normal. The smell is sulphur (hydrogen sulphide) and is particularly associated with lager yeasts; the lagering process should get rid of most of it. But avoid packaging your lager prematurely as this can trap in sulphur - if your lager still has a sulphur taint then leave it lager for a bit longer.
The 3 Stages of lagering
Primary Fermentation
Because of the lower temperatures used for brewing a lager, fermentation times are longer than for an ale. If your ales typically finish fermenting in 7–10 days, around 3 weeks is a good estimate for a lager. Â
Diacetyl Rest
Diacetyl isn’t your friend when it comes to lager - it will give it an ‘off’, buttery taste. In ales this can add character, but you’re looking for a clean flavour profile with lager. To reduce the presence of diacetyl, rack your lager to a secondary fermenter then raise the temperature to 18-20°C for the last two days of fermentation. Â
LageringÂ
During the lagering phase at cold temperature, harsh flavours created during fermentation will mellow out and your lager will become clear. After the diacetyl rest, gradually cool your lager by 3°C a day until it reaches around 2°C, but no more than 5°C (commercial breweries lager at 0-1°C). That said, some homebrewers skip this gradual temperature drop, jumping straight down to lagering temperatures and report that their lagers turn out just fine.
The length of lagering time depends on the style and the OG of your brew. Aim for at least 4-6 weeks. The American Homebrewers Association recommend 1 week of lagering for every 10 points (2.5° P) of original gravity. So a 1.050 (12.5° P) lager would need five weeks. Patience is a virtue, apparently….
Pressurized Fermentation
This interesting topic deserves a whole article to itself, but in a nutshell pressurized fermentation is carried out under...you guessed it… pressure. Fermenting under pressure allows you to ferment lagers, for example, quickly at higher temperatures. The pressure produces fewer esters so you’ll still get the clean lager profile that cold fermentation would create.Â
You’ll need a closed fermentation vessel that can handle pressure, plus a way of controlling the pressure. So a keg with spunding valve or a FermZilla conical fermenter with a pressure kit is what you’re after...but definitely nothing made from glass, obvs!Â
As a bonus, pressure fermentation also reduces risk of oxidisation and naturally carbonates your brew. Â


