Commercial breweries use whirlpooling as an important process in beer production. Essentially, whirlpooling separates hops and trub from wort after the wort boil. But homebrewers can use whirlpools just like the big guys. It’s an easy process to include in your brew day and can greatly improve the quality of your beers. If you have a spoon, you can whirlpool!
The Benefits of Whirlpooling
Clearer Wort: A whirlpool promotes clearer wort by collecting the solids in the center of the brew kettle. The chilled wort can then either be siphoned from the side of the kettle or through the kettle valve to avoid transferring any of the larger particles into your fermentor.
Quicker Chilling: Whirlpooling at the end of your boil helps reduce the temperature allowing it to reach the yeast pitching temperature more quickly. If you have a wort chiller, combining the two functions is a great solution to cleaning your wort and chilling.
Improved Hop Flavor & Aroma: Because whirlpooling cools the wort faster, it improves the extraction of aromas from late hopping instead of adding more bitterness.
How to Whirlpool
We’ve all done it as a kid in the bath. And you probably do it everyday now when you stir your cuppa! You’re basically creating a whirlpool – a circular current – but when you’re homebrewing you’re doing it in a brew kettle instead of your coffee cup. You can create the current using various techniques and equipment.
Spoon: Whether you’re using an ice bath, an immersion chiller or no formal chilling method, the simplest way to create a whirlpool is to use a spoon. Quickly stir the liquid along the walls of the brew kettle for a few minutes until you create a strong, lasting whirlpool. Try not to splash or you might cause hot-side aeration. Before racking, allow the whirlpool to stand for 10-30 minutes depending on your goals (clarification, hop flavor/aroma etc).
Pump or Counterflow Chiller: If you have a pump, or if you’re using a counterflow chiller, you can create a whirlpool by angling the pump-out hose along the side of the kettle a few inches below the surface of the wort. Take care when creating a whirlpool with a pump as it can cause hot wort to splash out of the kettle.
The Physics of Whirlpooling
So how does it work? You would have thought that mixing up your brew is the last thing you want to do to clean it. However, because the contents of the boil kettle are light enough they will collect in the center due to something called the “tea leaf paradox.â€
Basically, stirring the wort into a whirlpool creates centripetal force. Friction created by the contact between the liquid and the bottom and sides of the kettle causes the liquid towards the bottom to decrease in speed, creating a pressure gradient. This pressure gradient is lower than the upper portion of the liquid, which pulls the solid materials in the kettle towards the center of the bottom (things move from higher to lower pressure). Isn’t physics fun?
We asked our Brew Crew about their experience of whirlpooling
Duncan Mcfarlane
“I’ve been whirlpooling for around a year now with good results. My process is generally pretty simple really that consists of an inline filter, variable speed pump, plate chiller and a dedicated port on the kettle.
After flame out I generally whirlpool hops in a hop spider at 80°c for 30 mins. And I find that I can achieve the desired aroma profiles that I’m after. Although it is deemed that you don’t increase the IBU’s due to the lack of isomerisation at 80°c, I believe that you still get a perceived bitterness as you do when dry hopping.
What this also does for my process is to enable a central cone of trub during cooling and the 1 hour settlement time prior to transferring to the fermenter.â€
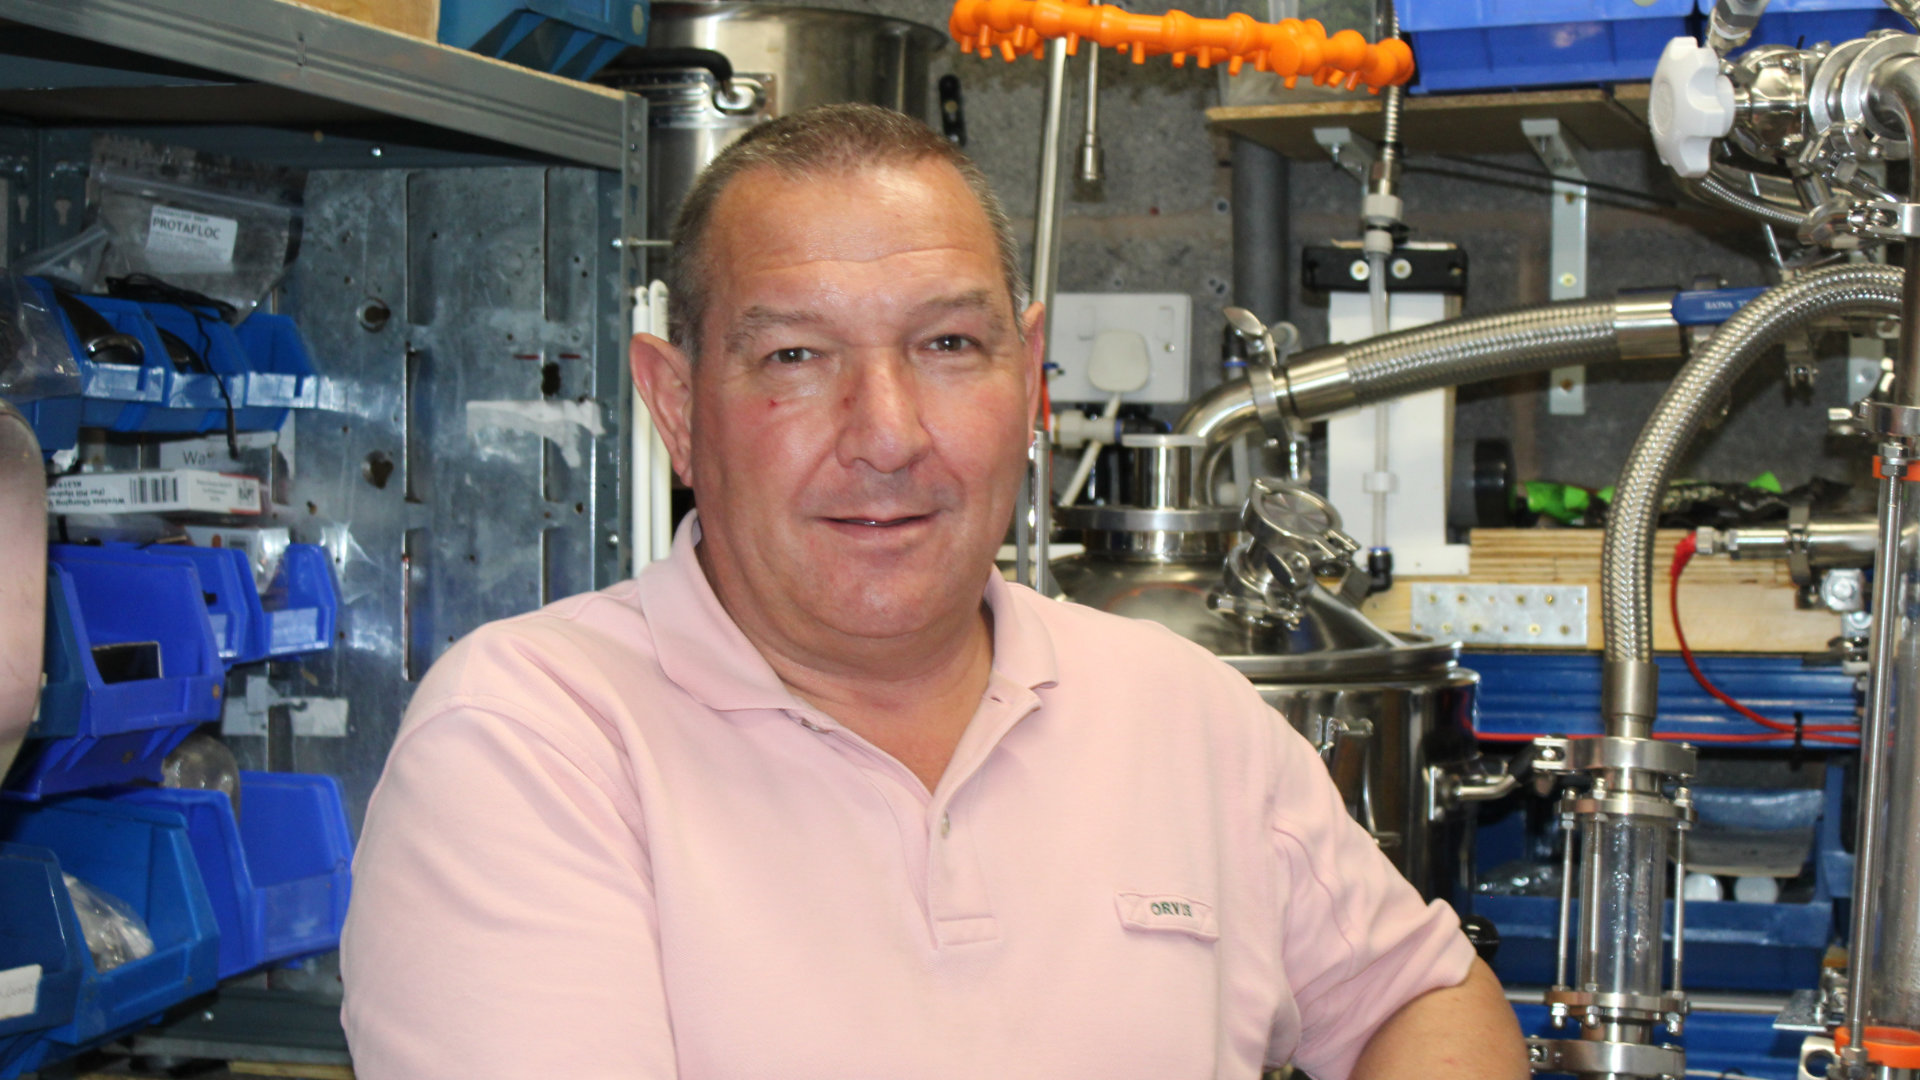
Dan Plummeridge
“Whirlpooling is something I’ve always done, not for wort clarity, but for quicker cooling. I’ve found this especially useful when using an immersion chiller; I can get down to around 80 degrees in a few minutes before adding my flameout additions. Works great for adding a huge hop hit, without adding too much bitterness.â€image by Dan Walters
Dan Walters
“I whirlpool on practically every brew. I have a stainless steel whirlpool arm that a friend made me. It’s a piece of 15mm stainless tube that is bent to allow it to run at the side of my kettle. I also have a magnetic recirculating pump that I use for transferring wort between mash tun and kettle but it is then also used to pump the wort from the outlet of my kettle through the whirlpool arm.
I have totally adopted the whirlpool process to help both with hop additions after flame out as well as improving my chill times. One tip I would give is to use a shut off valve on the outlet of the pump so that you can control the speed of the whirlpool.â€
Damien Roebuck
“I only ever tried whirlpooling once and was knackered afterwards as it consisted of me wazzing the wort round by hand with my mash paddle. I probably gave up way too soon as I didn’t get any noticeable results!! I’ve now got a Fermzilla so I’m hoping I don’t have to worry about hop debris going in the fermenter.â€
Daniel Ennis
“I do whirlpooling in most of my beers, but only at 75°c and I recirculate the entire time to collect trub/cold break in the hop matter resulting in a clearer wort.â€
Got any whirlpooling tips to share? Leave them in the comments below!
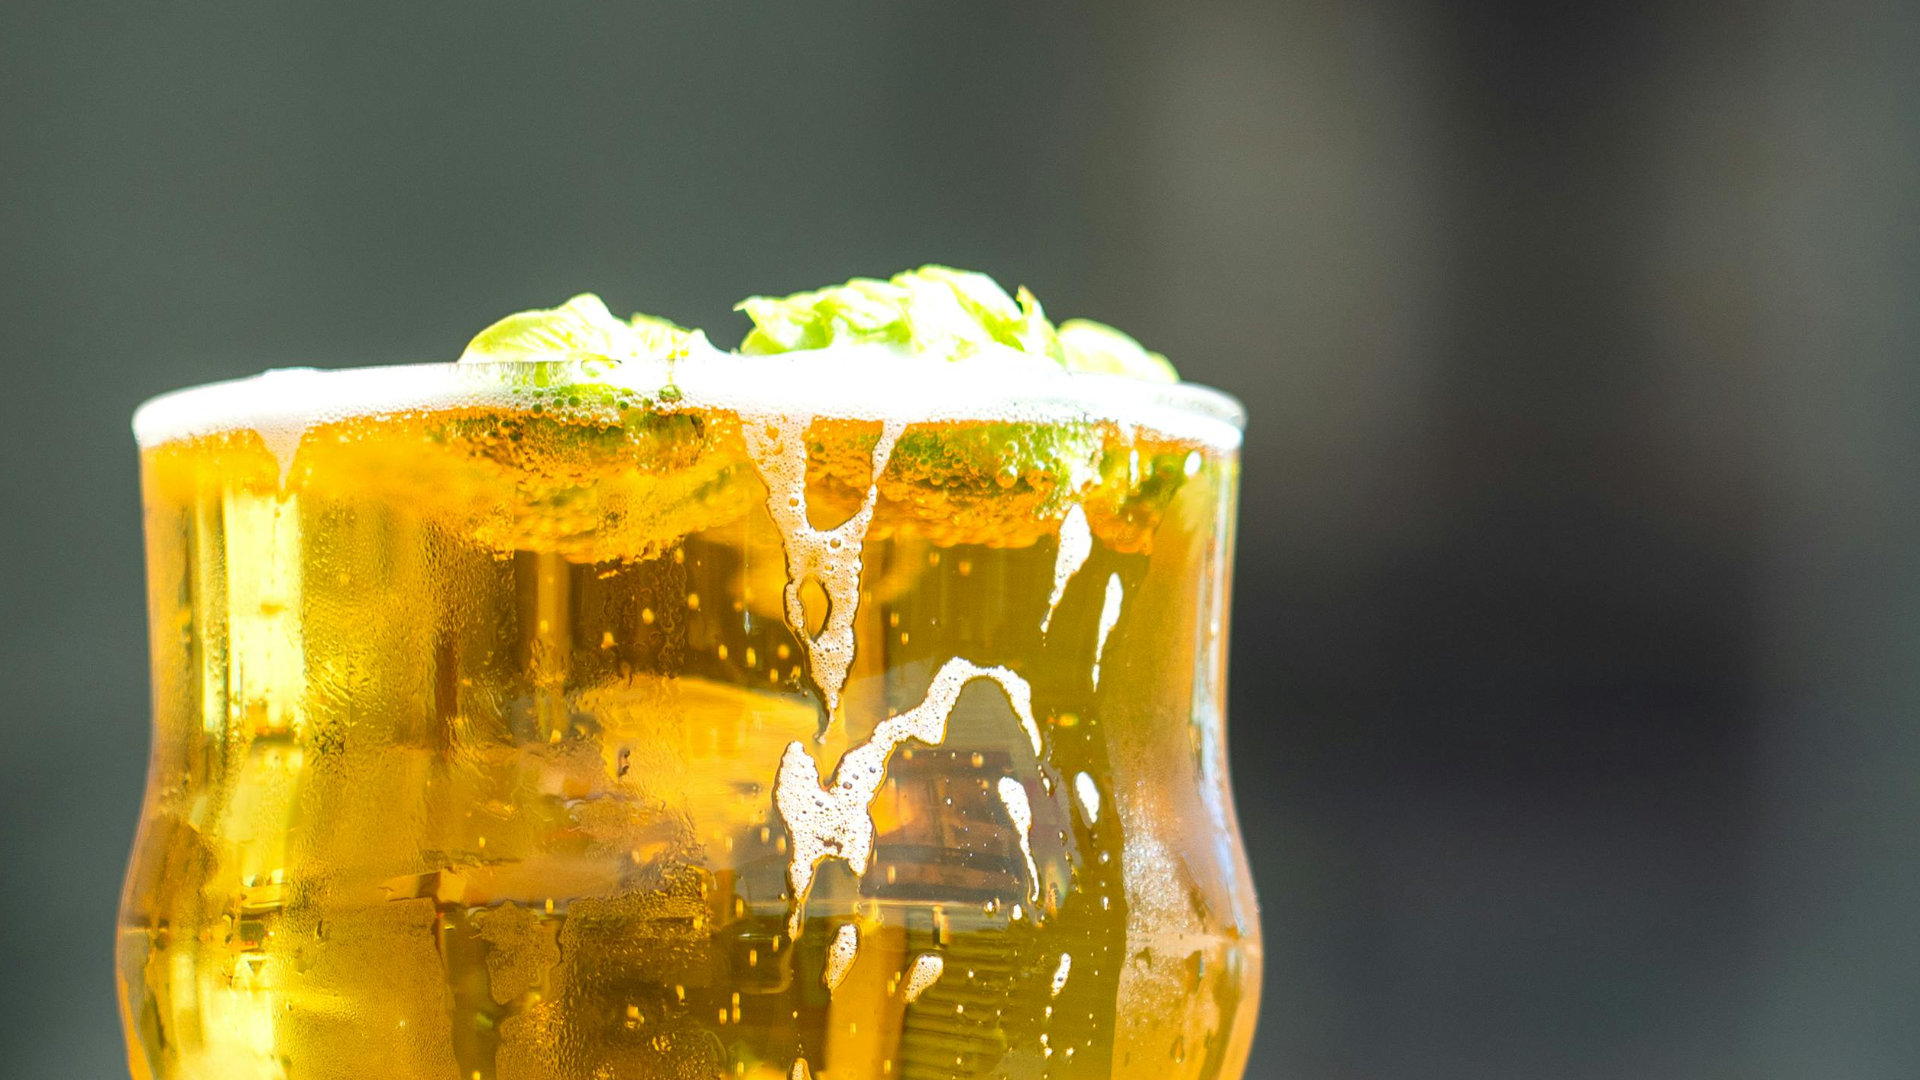
Feature image: Enrique Ortega Miranda on Unsplash